Just send me whatever files you have and I’ll come back to you if there are any concerns.
The following are recommend specifications for artwork. If you’re having any problems supplying to the specifications below; don’t worry. Contact me as I can quickly remedy most issues, rather you than having to spend your valuable time trying to do this yourself.
Minimum artwork specification requirements;
- PDF (Recommended Adobe PDF preset: PDF/X-1a:2001)
- 300dpi minimum
- CMYK only
- Minimum 2mm bleed for digital/offset & 10mm for signs
- Colour photos must be converted to CMYK with total ink limited 240% and dot gain should be set for 30%.
- Text as curves or lines
- Single layer
- No spot colours (unless specifically requested)
- Multiple pages to be supplied as one up artworks per page
Other file formats
You can send other file formats, but be aware that due to security concerns I may need to open your file in a secured, sandboxed VM machine and this takes time to set up.
Further Reading;
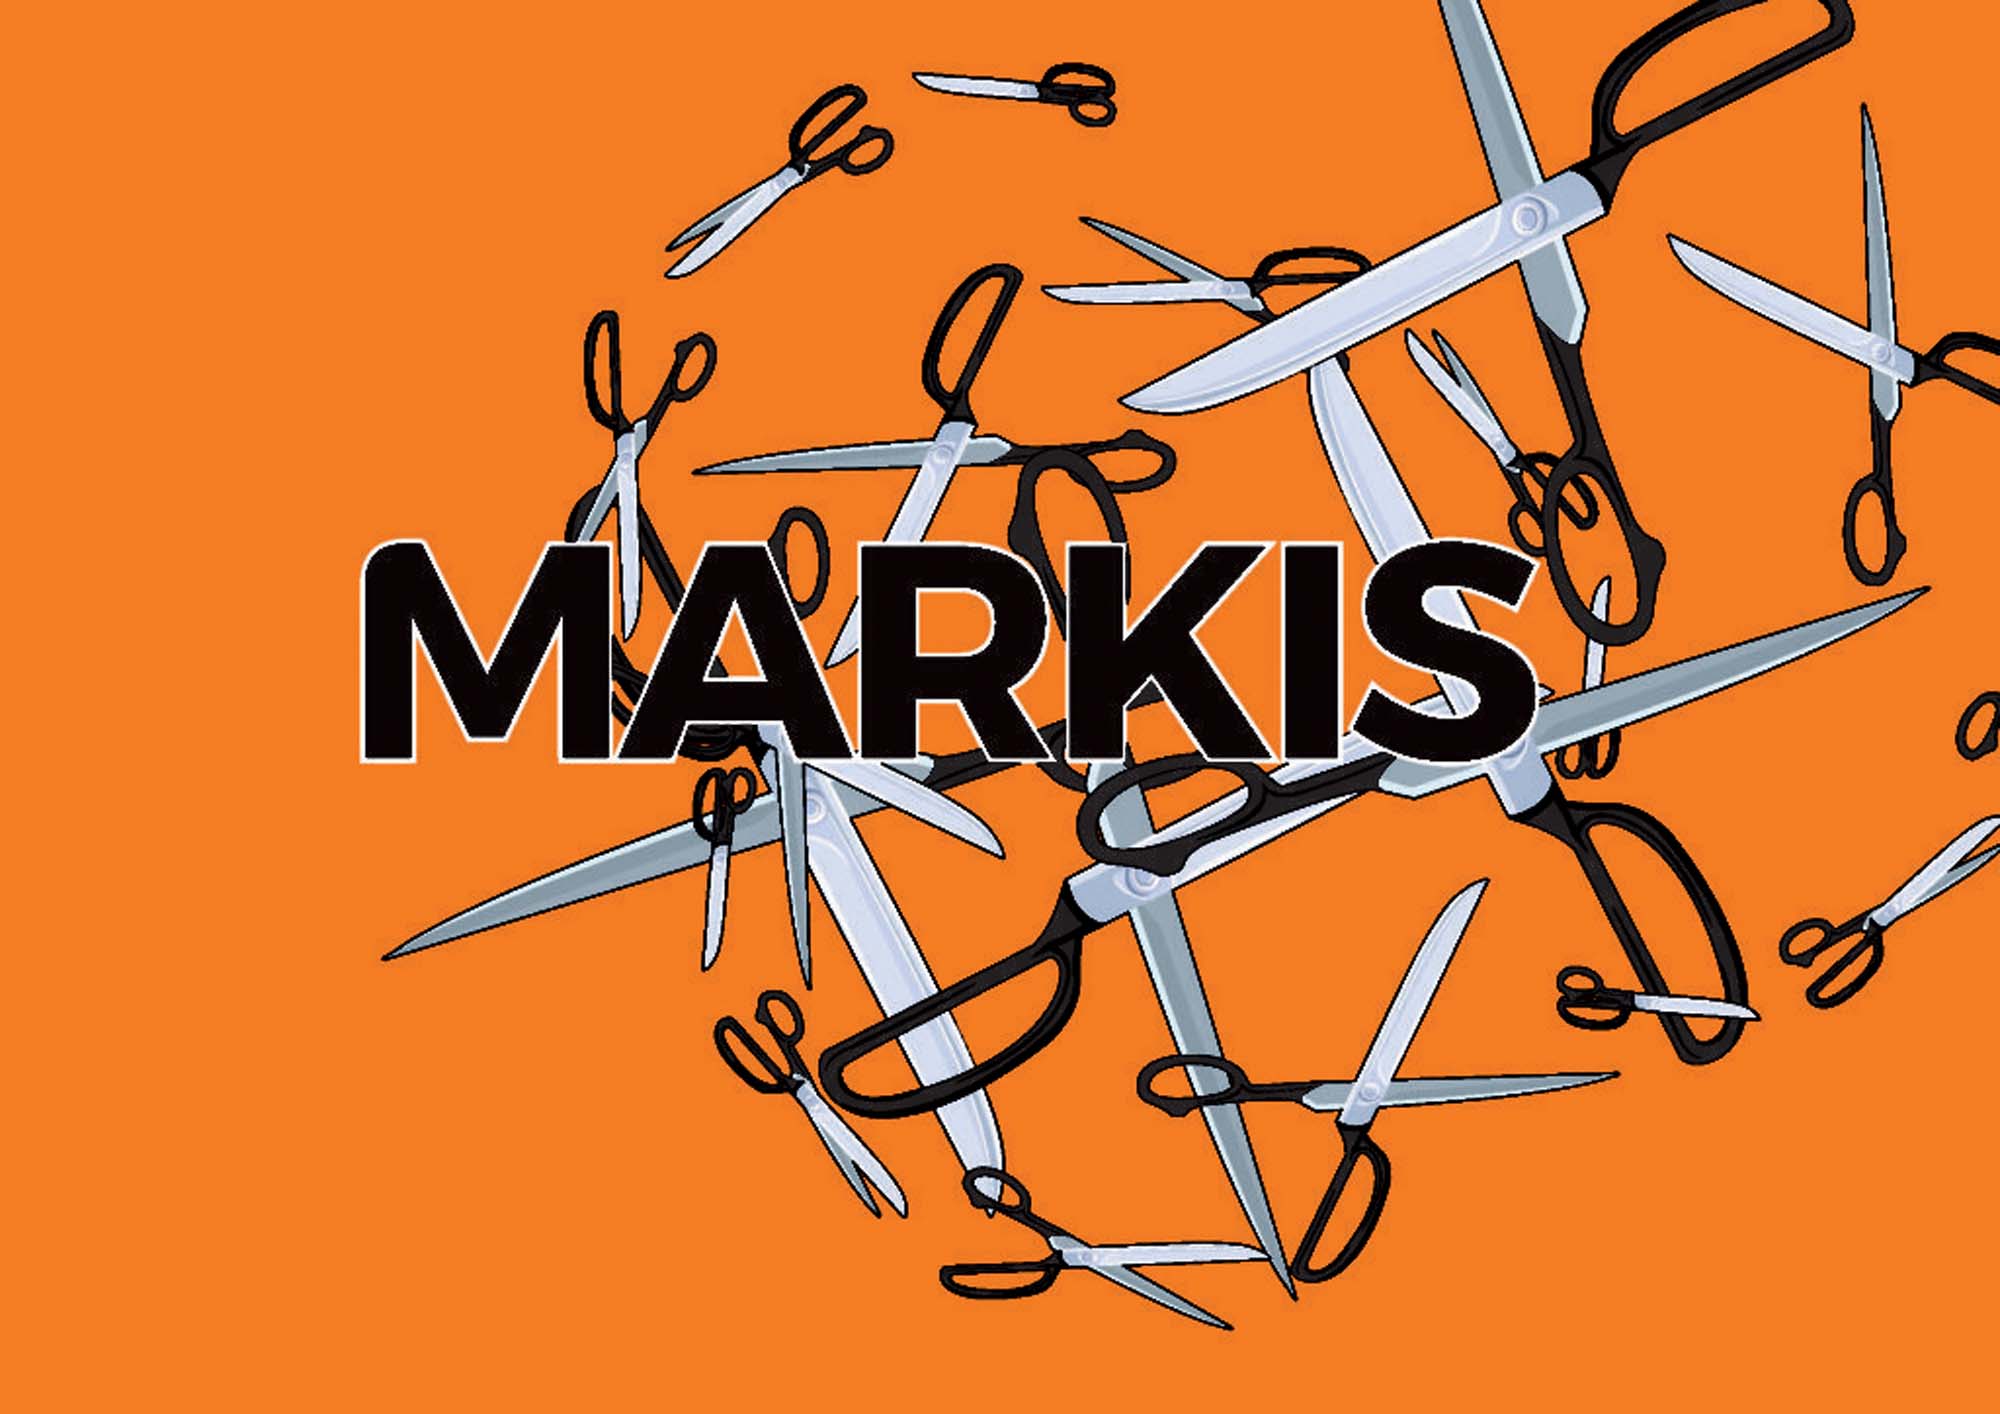
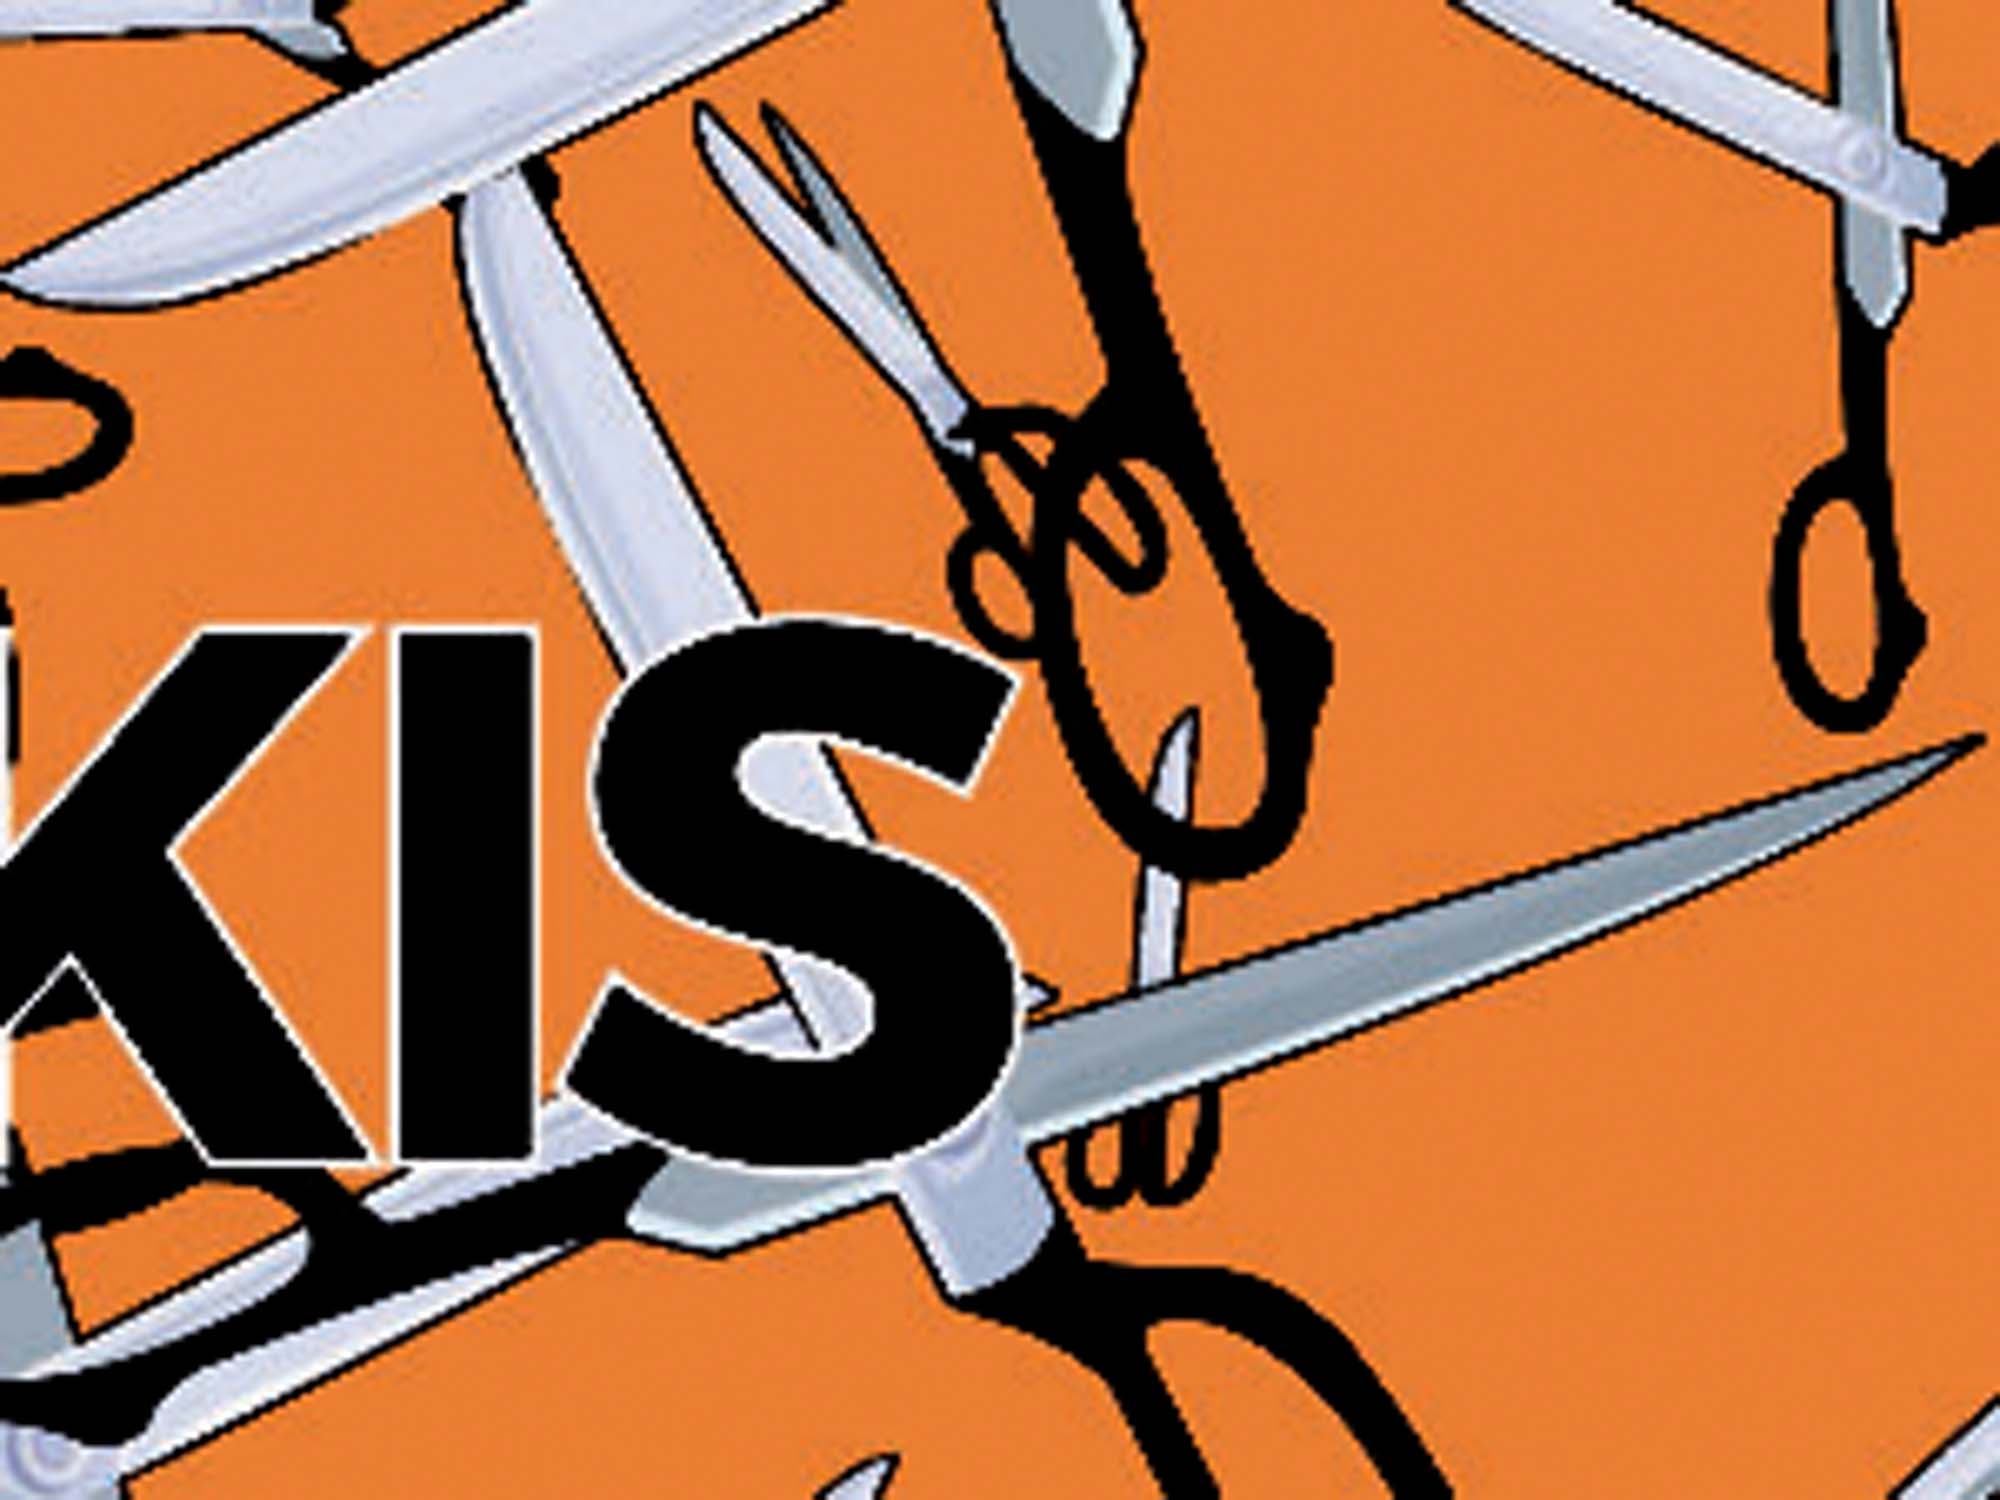
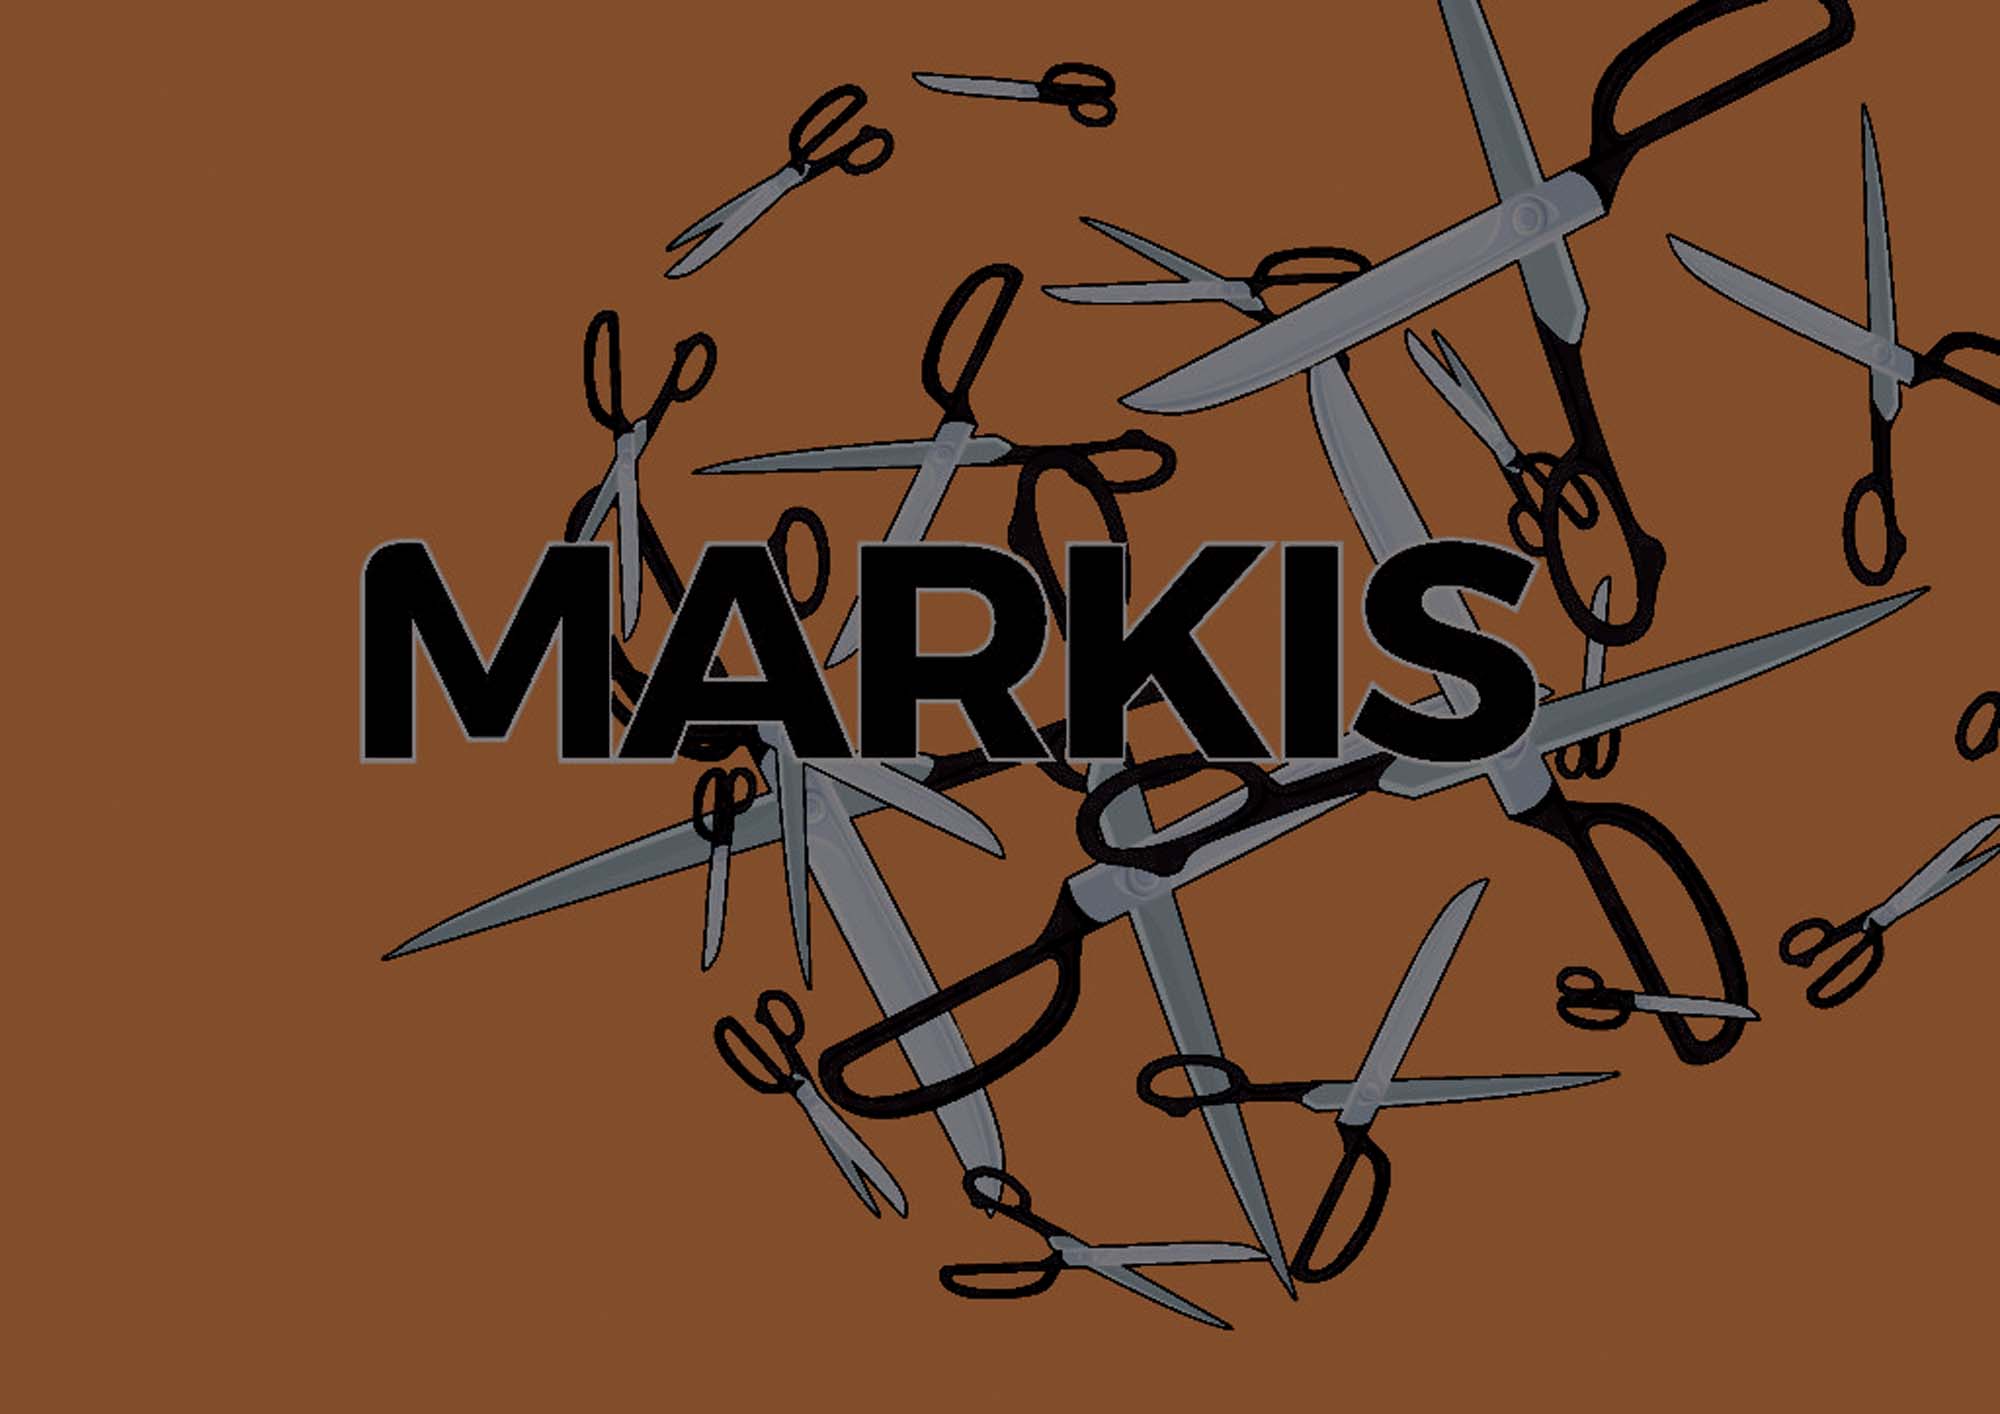
For further reading, we’re going to be looking specifically at this very simple piece of artwork to help understand why minimum specifications are necessary;
Why PDF format?
Pdf files are the industry standard for presenting digital data for print. The file can be resized without losing any detail and this is because pdf’s use vectors to display text and images (except for embedded images like jpg, png etc).
You can supply files outside this format, but the file will need to be converted to a print ready format. Depending on the file, converting the file to print ready can be either a simple or complex task; you may be asked to;
- Supply all font files.
- Supply all original images.
- Supply original editable document.
- Re-check and approve newly created print ready artwork and sign off.
- Depending on how much work is required to make your artwork print ready, a small ‘make print-ready’ fee maybe be applied.
On rare occasions, some supplied files need to be completely remade. See “Why can’t you print it?” sub-heading below.
Word unfortunately is one of the most common formats supplied and causes the most issues when converting to a print ready .pdf format. The same .doc or .docx file can display differently on different computers so a thorough print approval process is required.
What is DPI?
DPI, or Dots Per Inch refers to the number of ‘dots’ put down on a page. Essential the higher the DPI, the higher the print quality. Of course, the higher DPI, the larger the file must be to contain all the ‘dot data’. A good compromise between file size and the limits of the human eye is 300dpi, but you can go as high as 600dpi if finer detail is required. Large outdoor signage will require much higher dpi so please contact me if you need help in this area before you begin creating your artwork.
Vector vs Raster artwork
This follows on from DPI. When you are designing artwork you want to ensure you are using vector instead of raster;
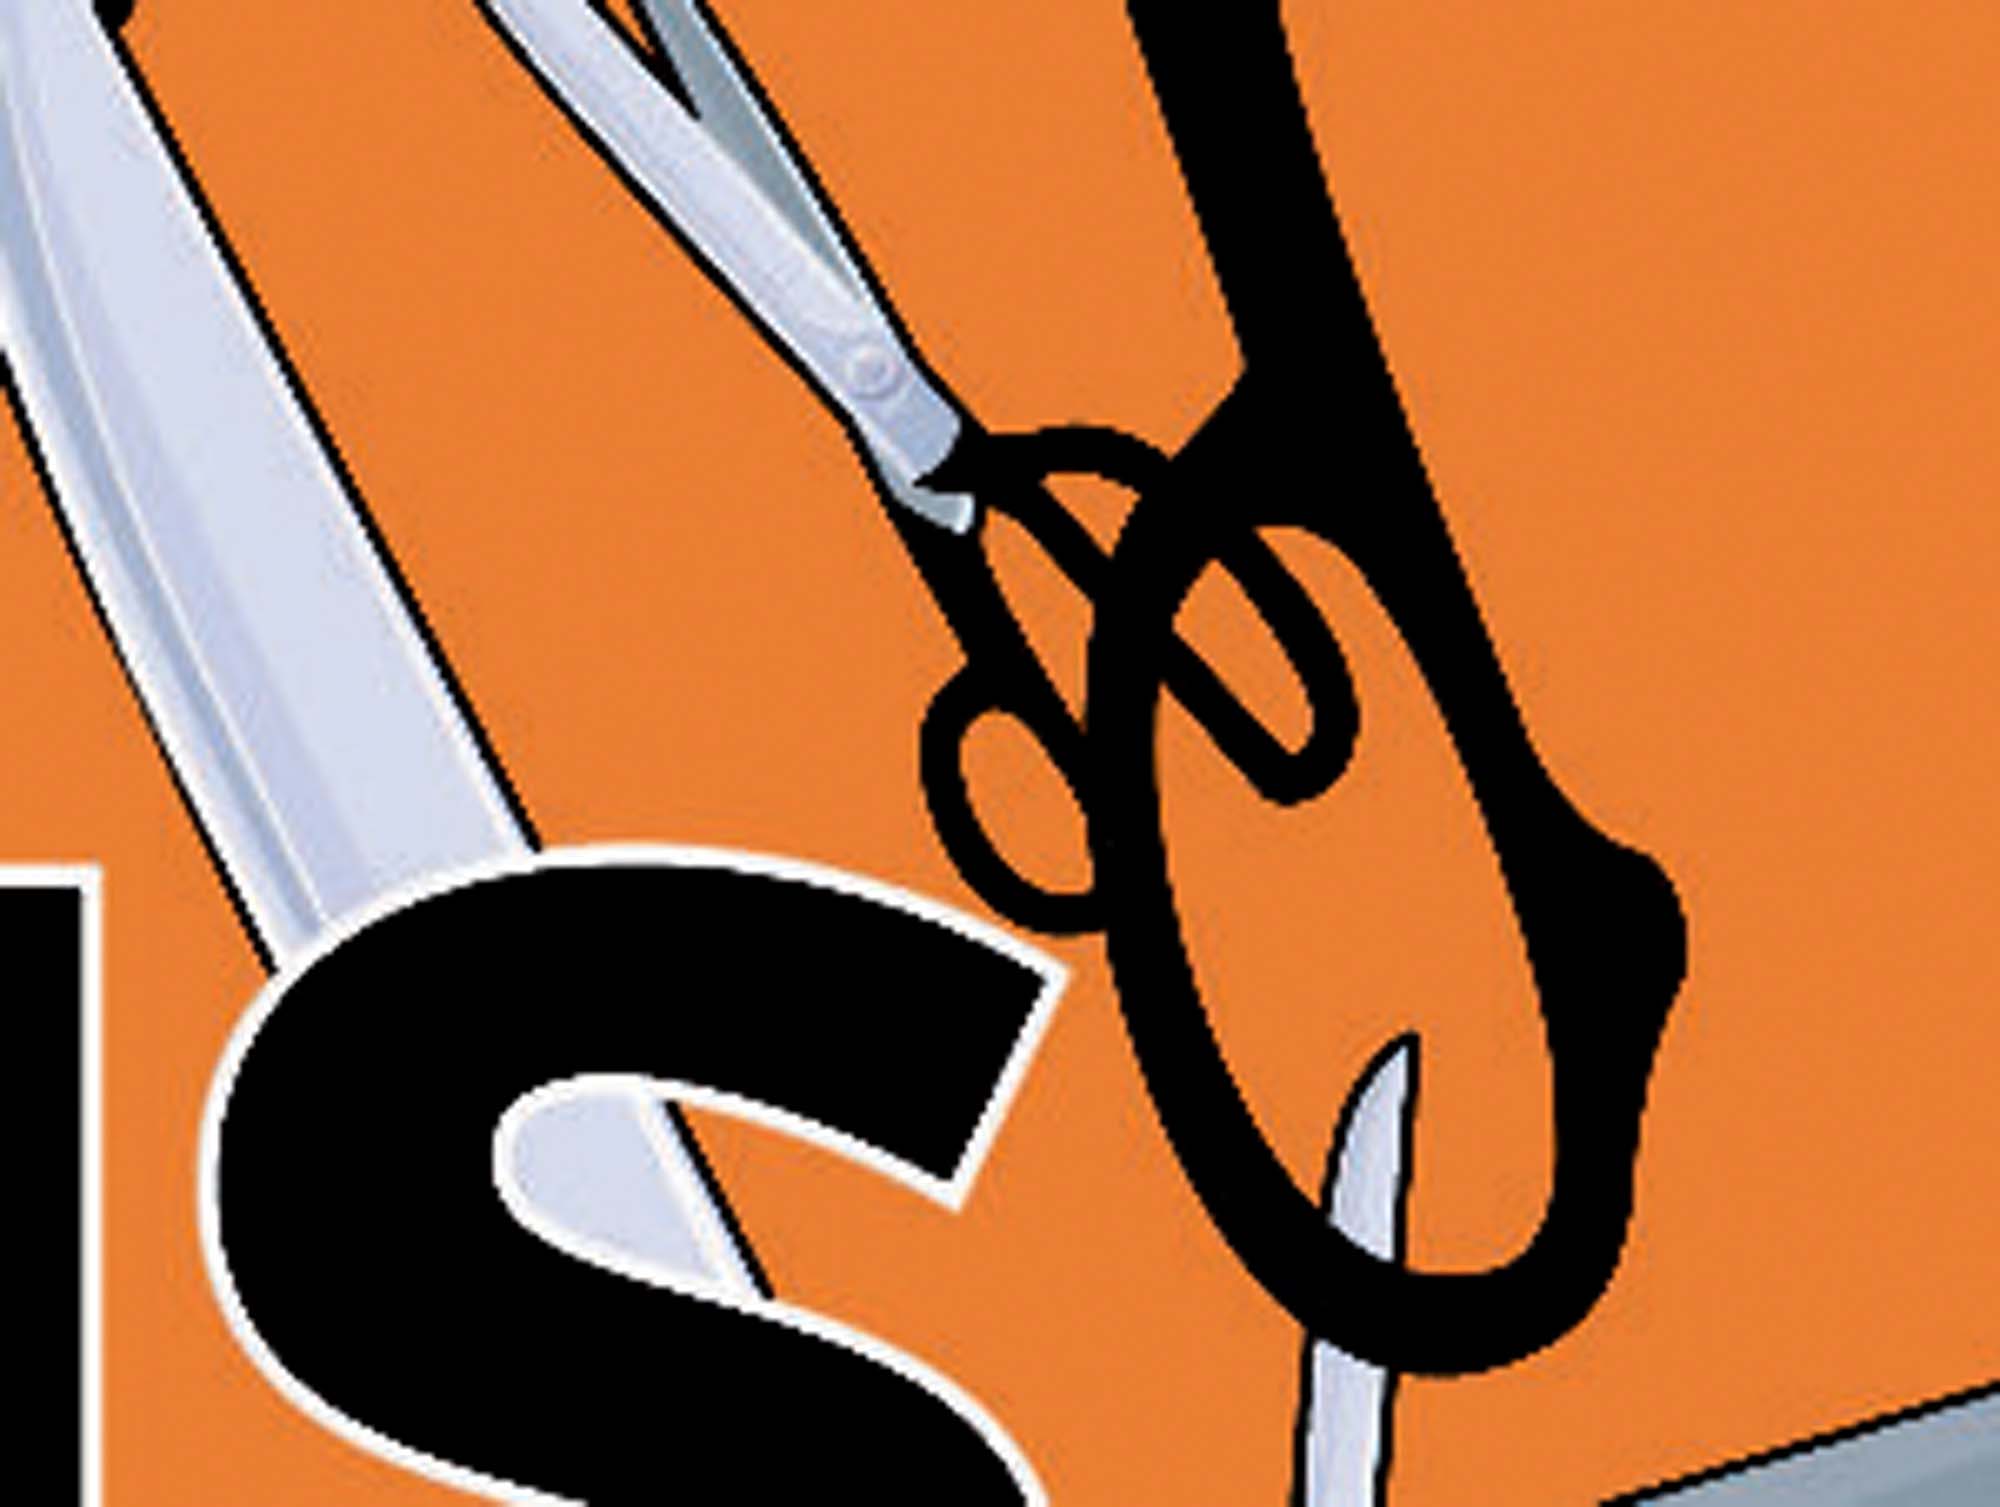
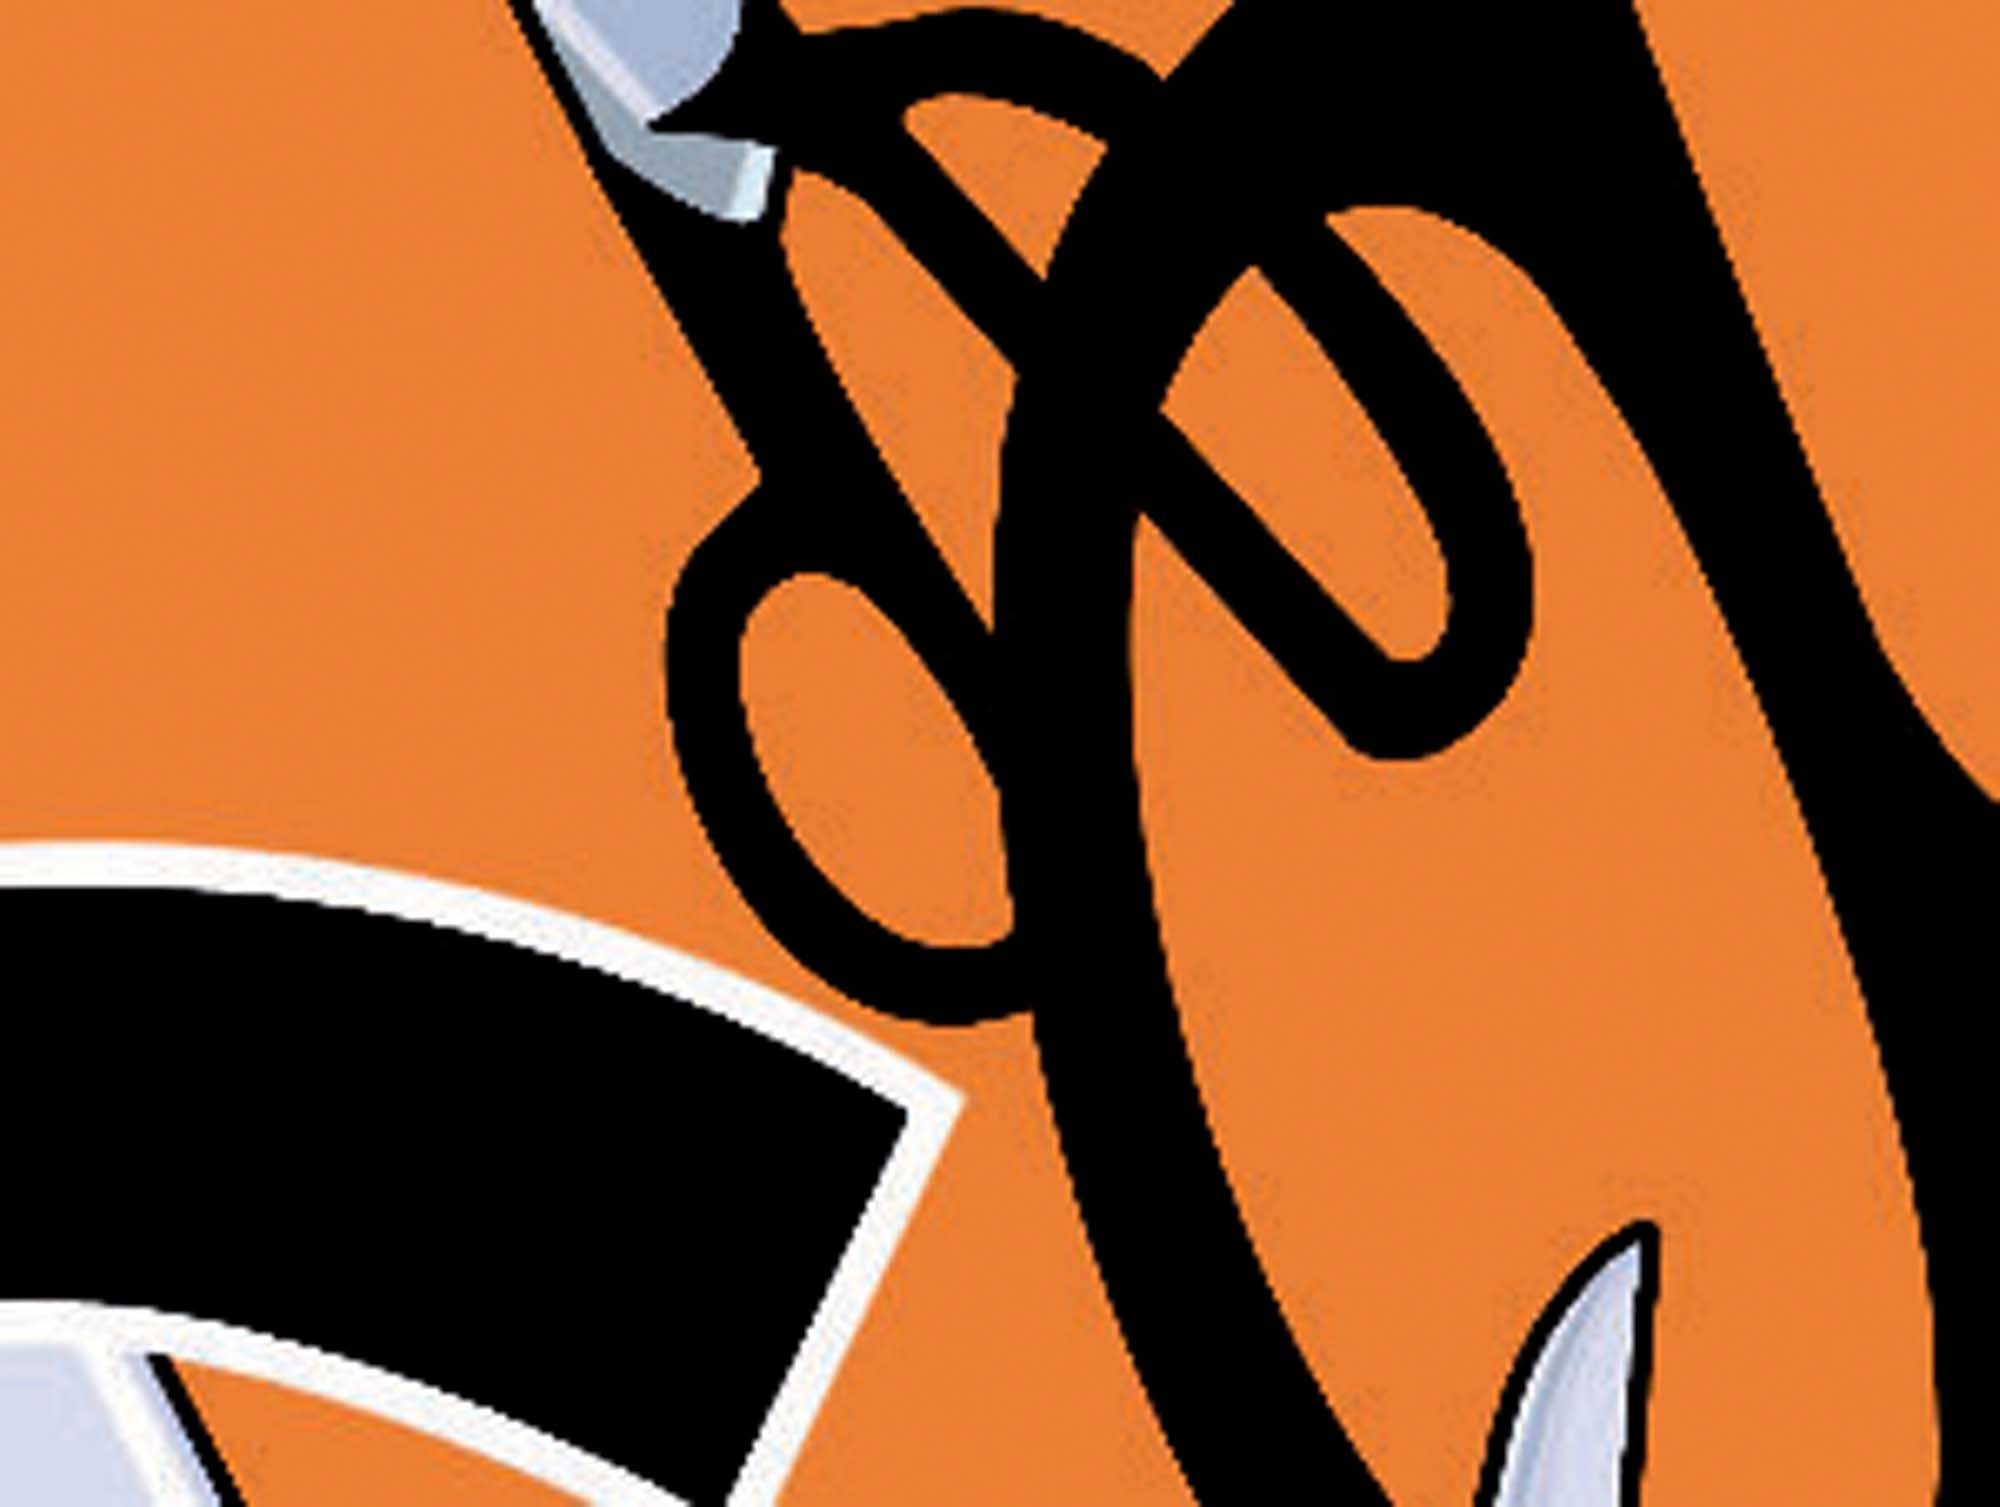
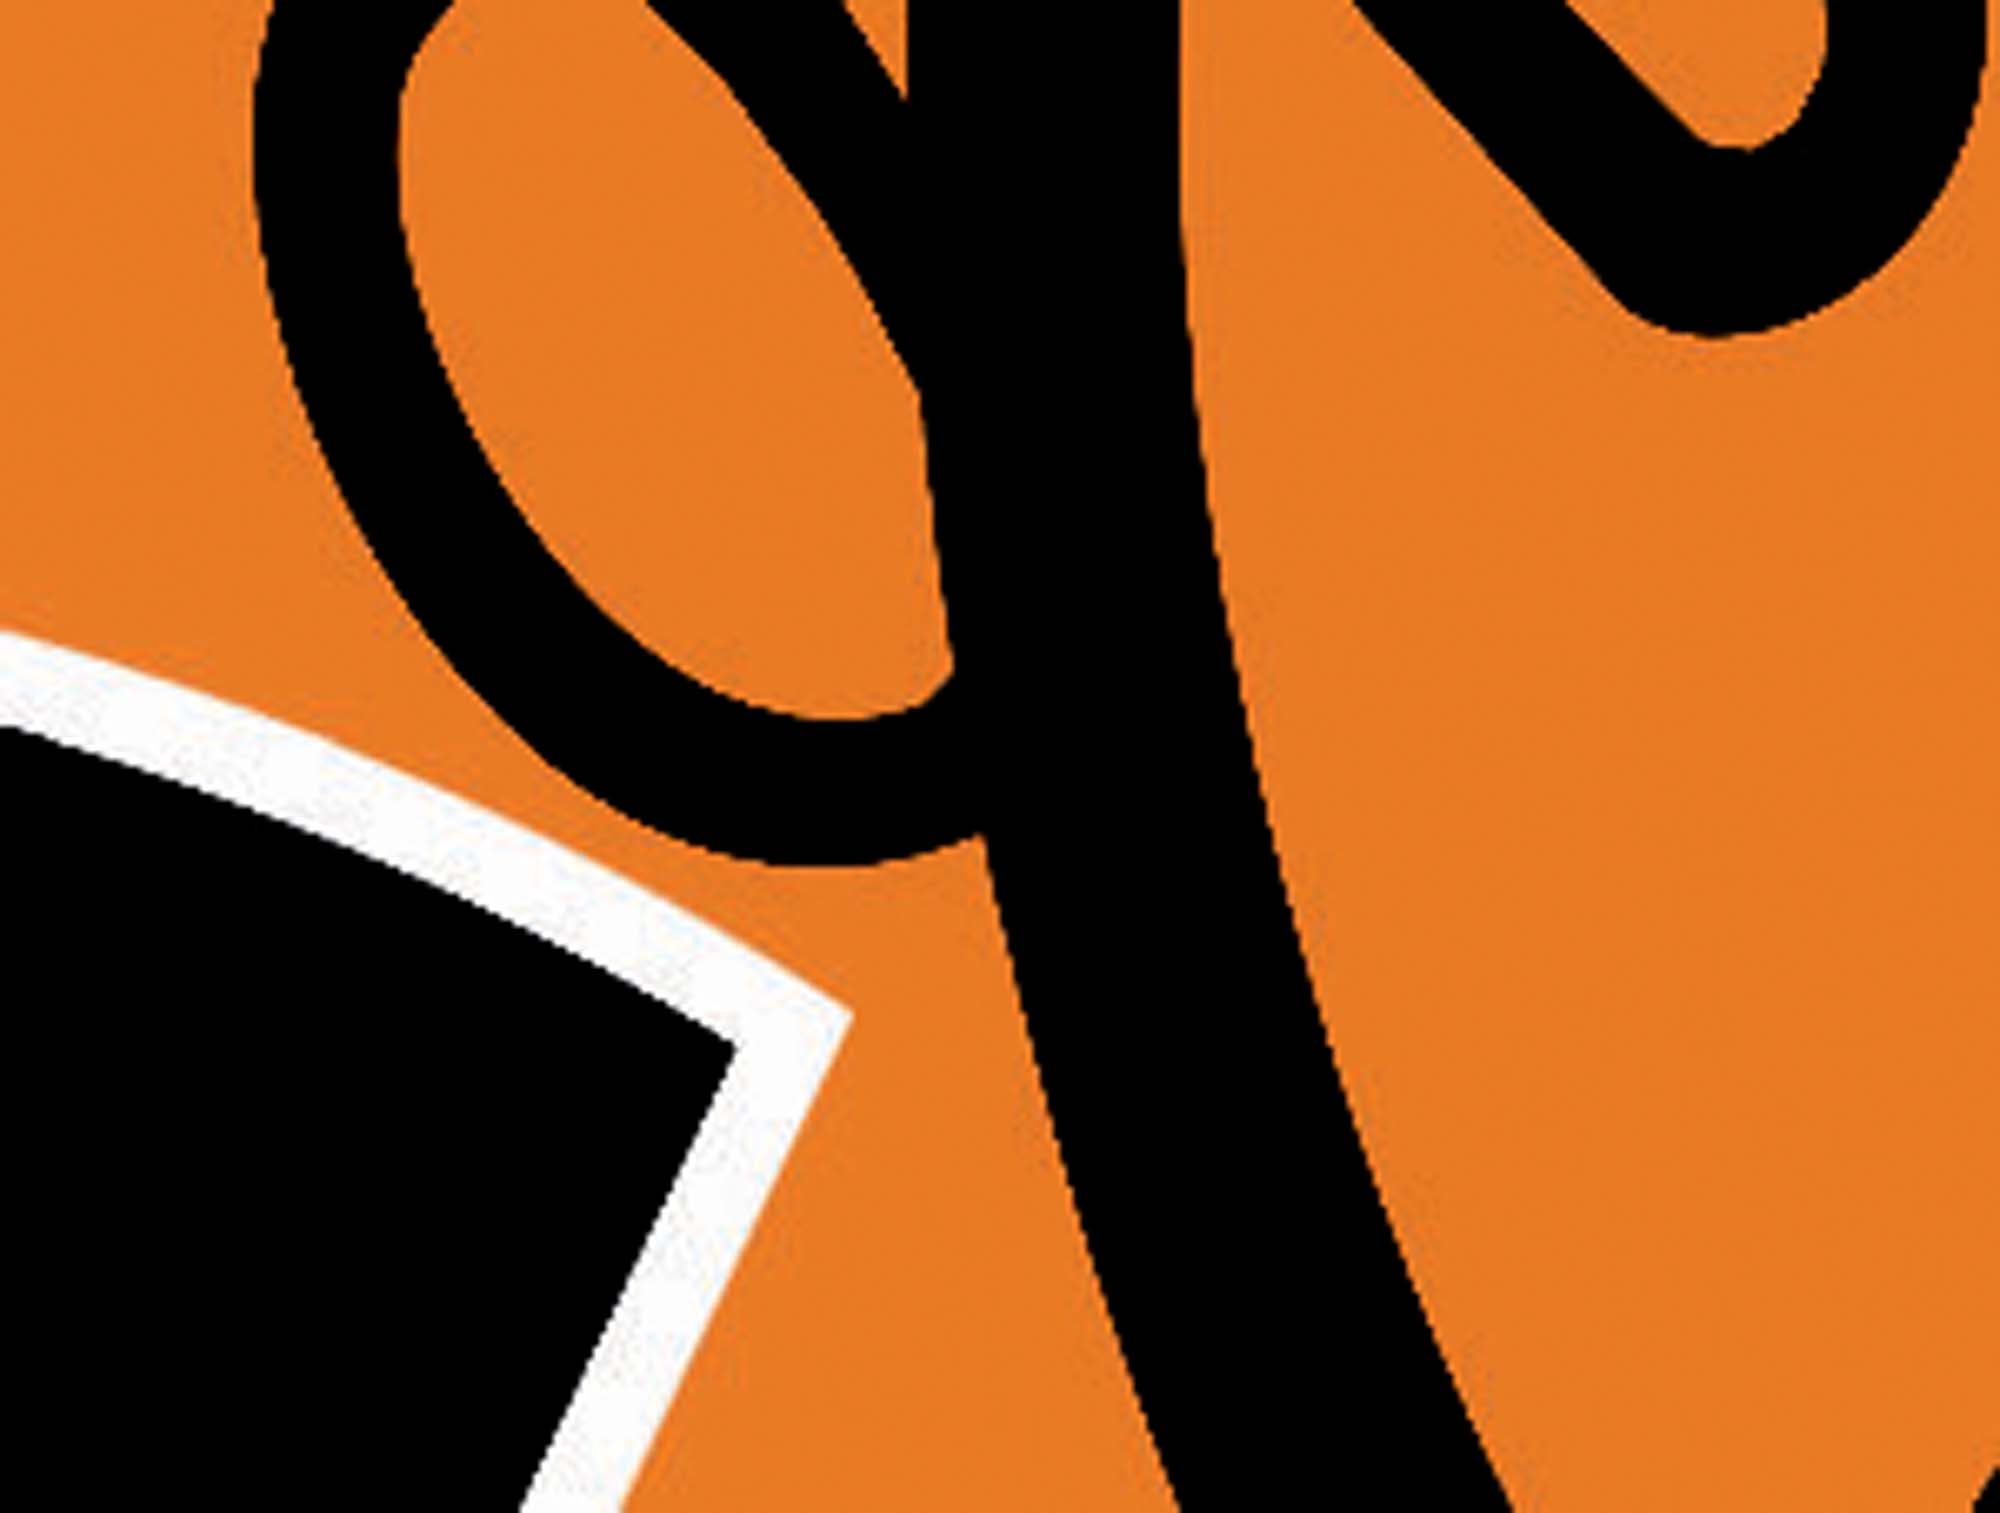
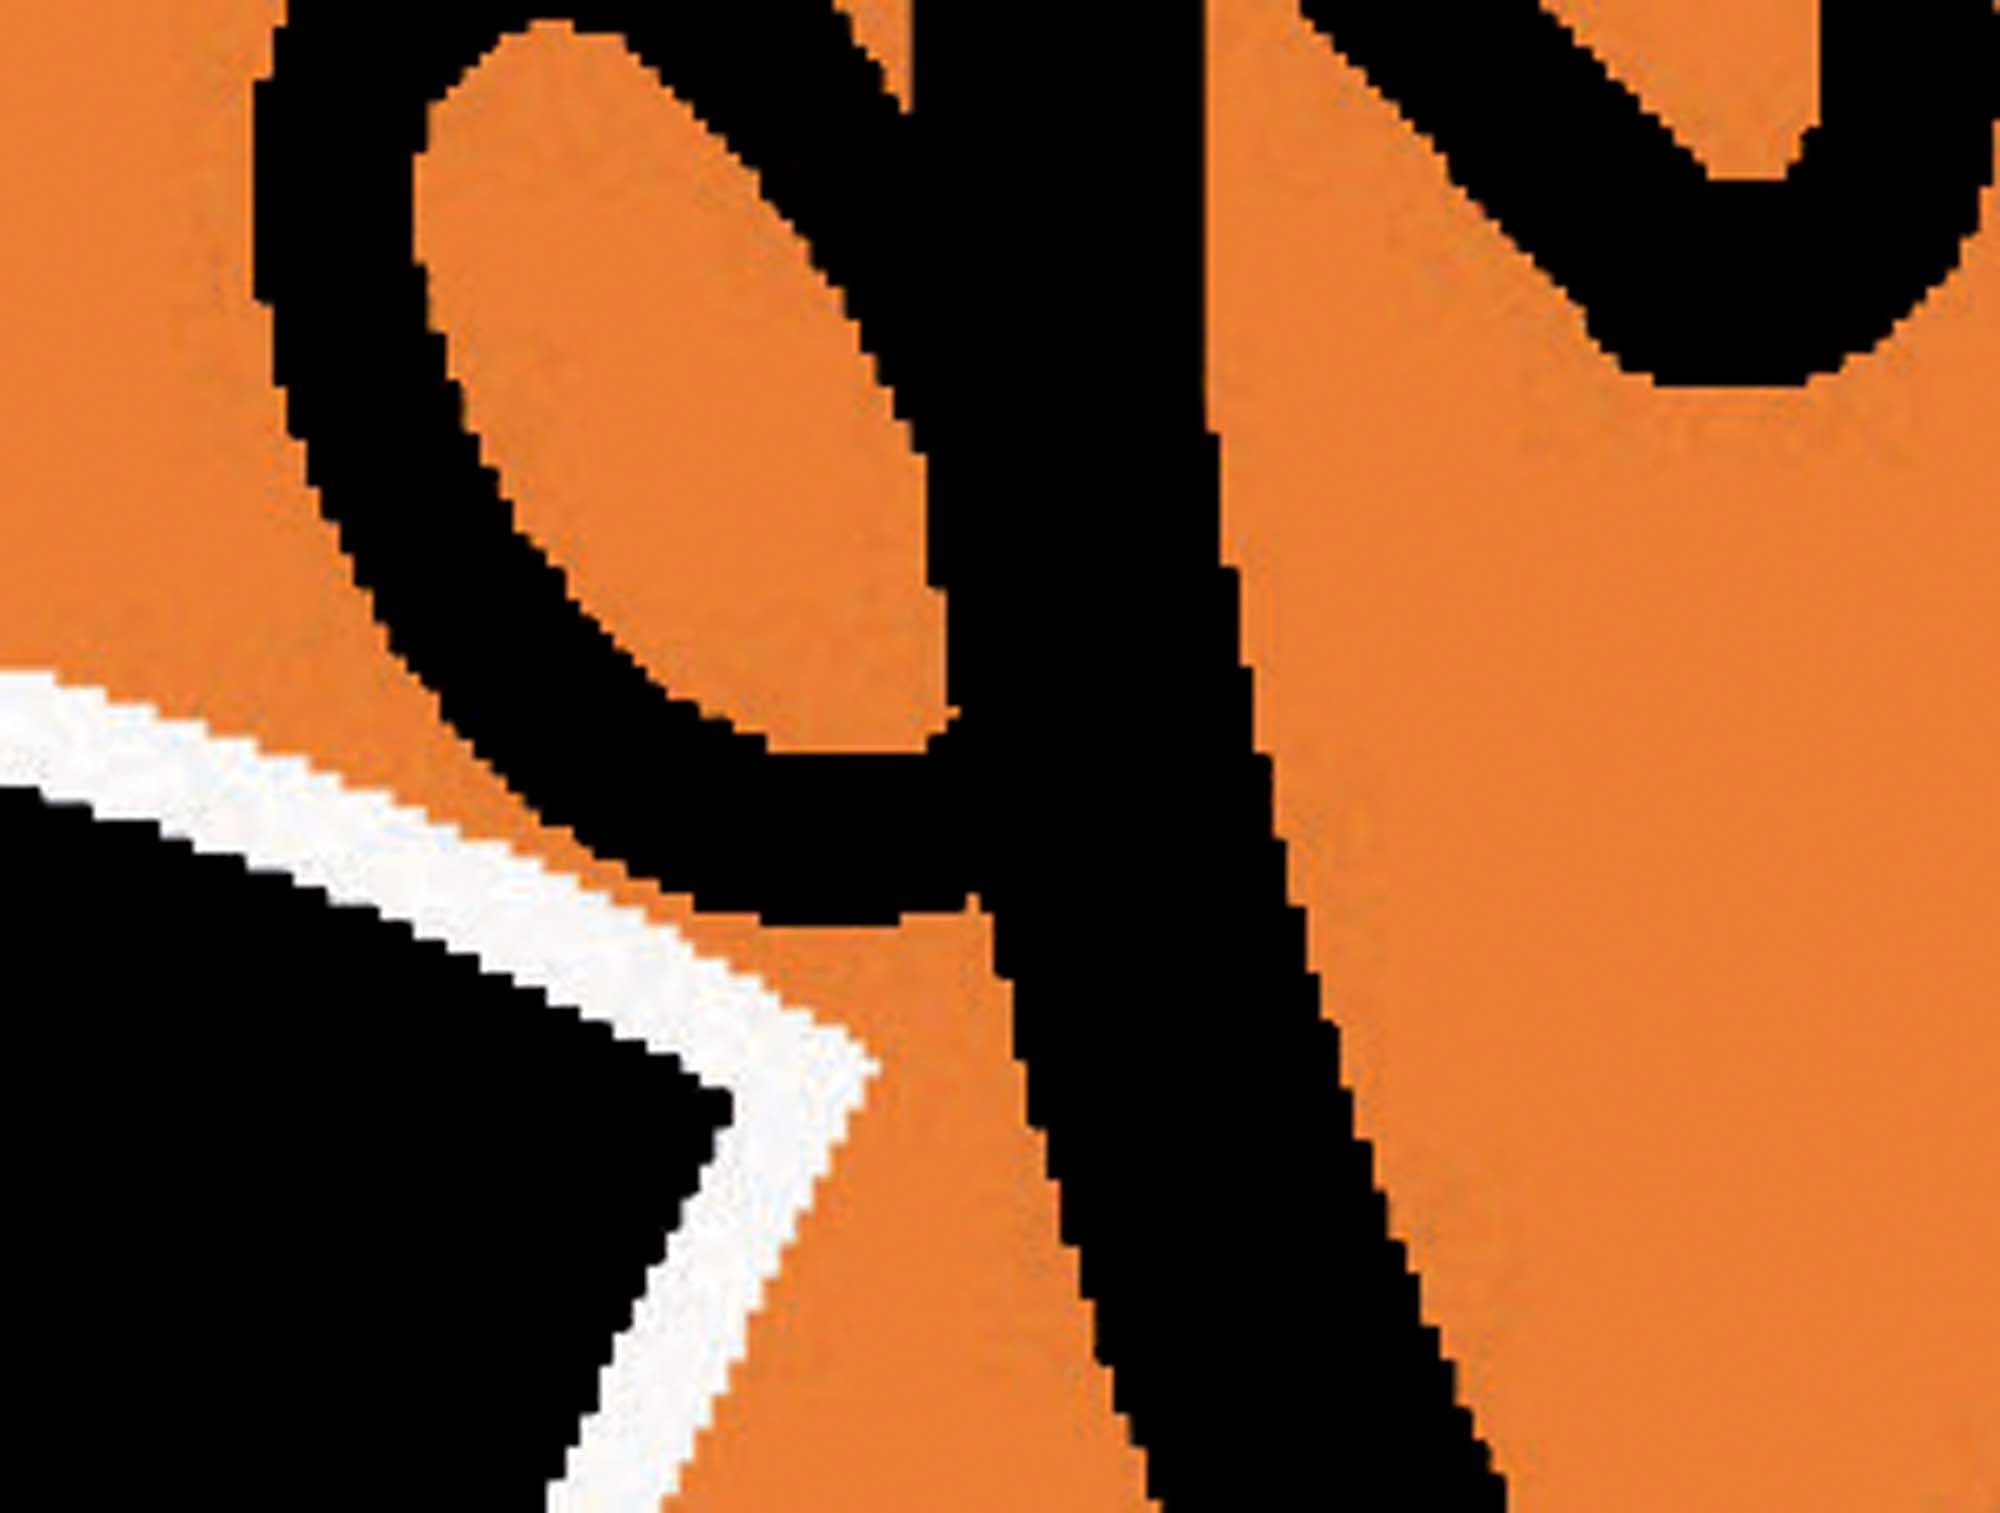
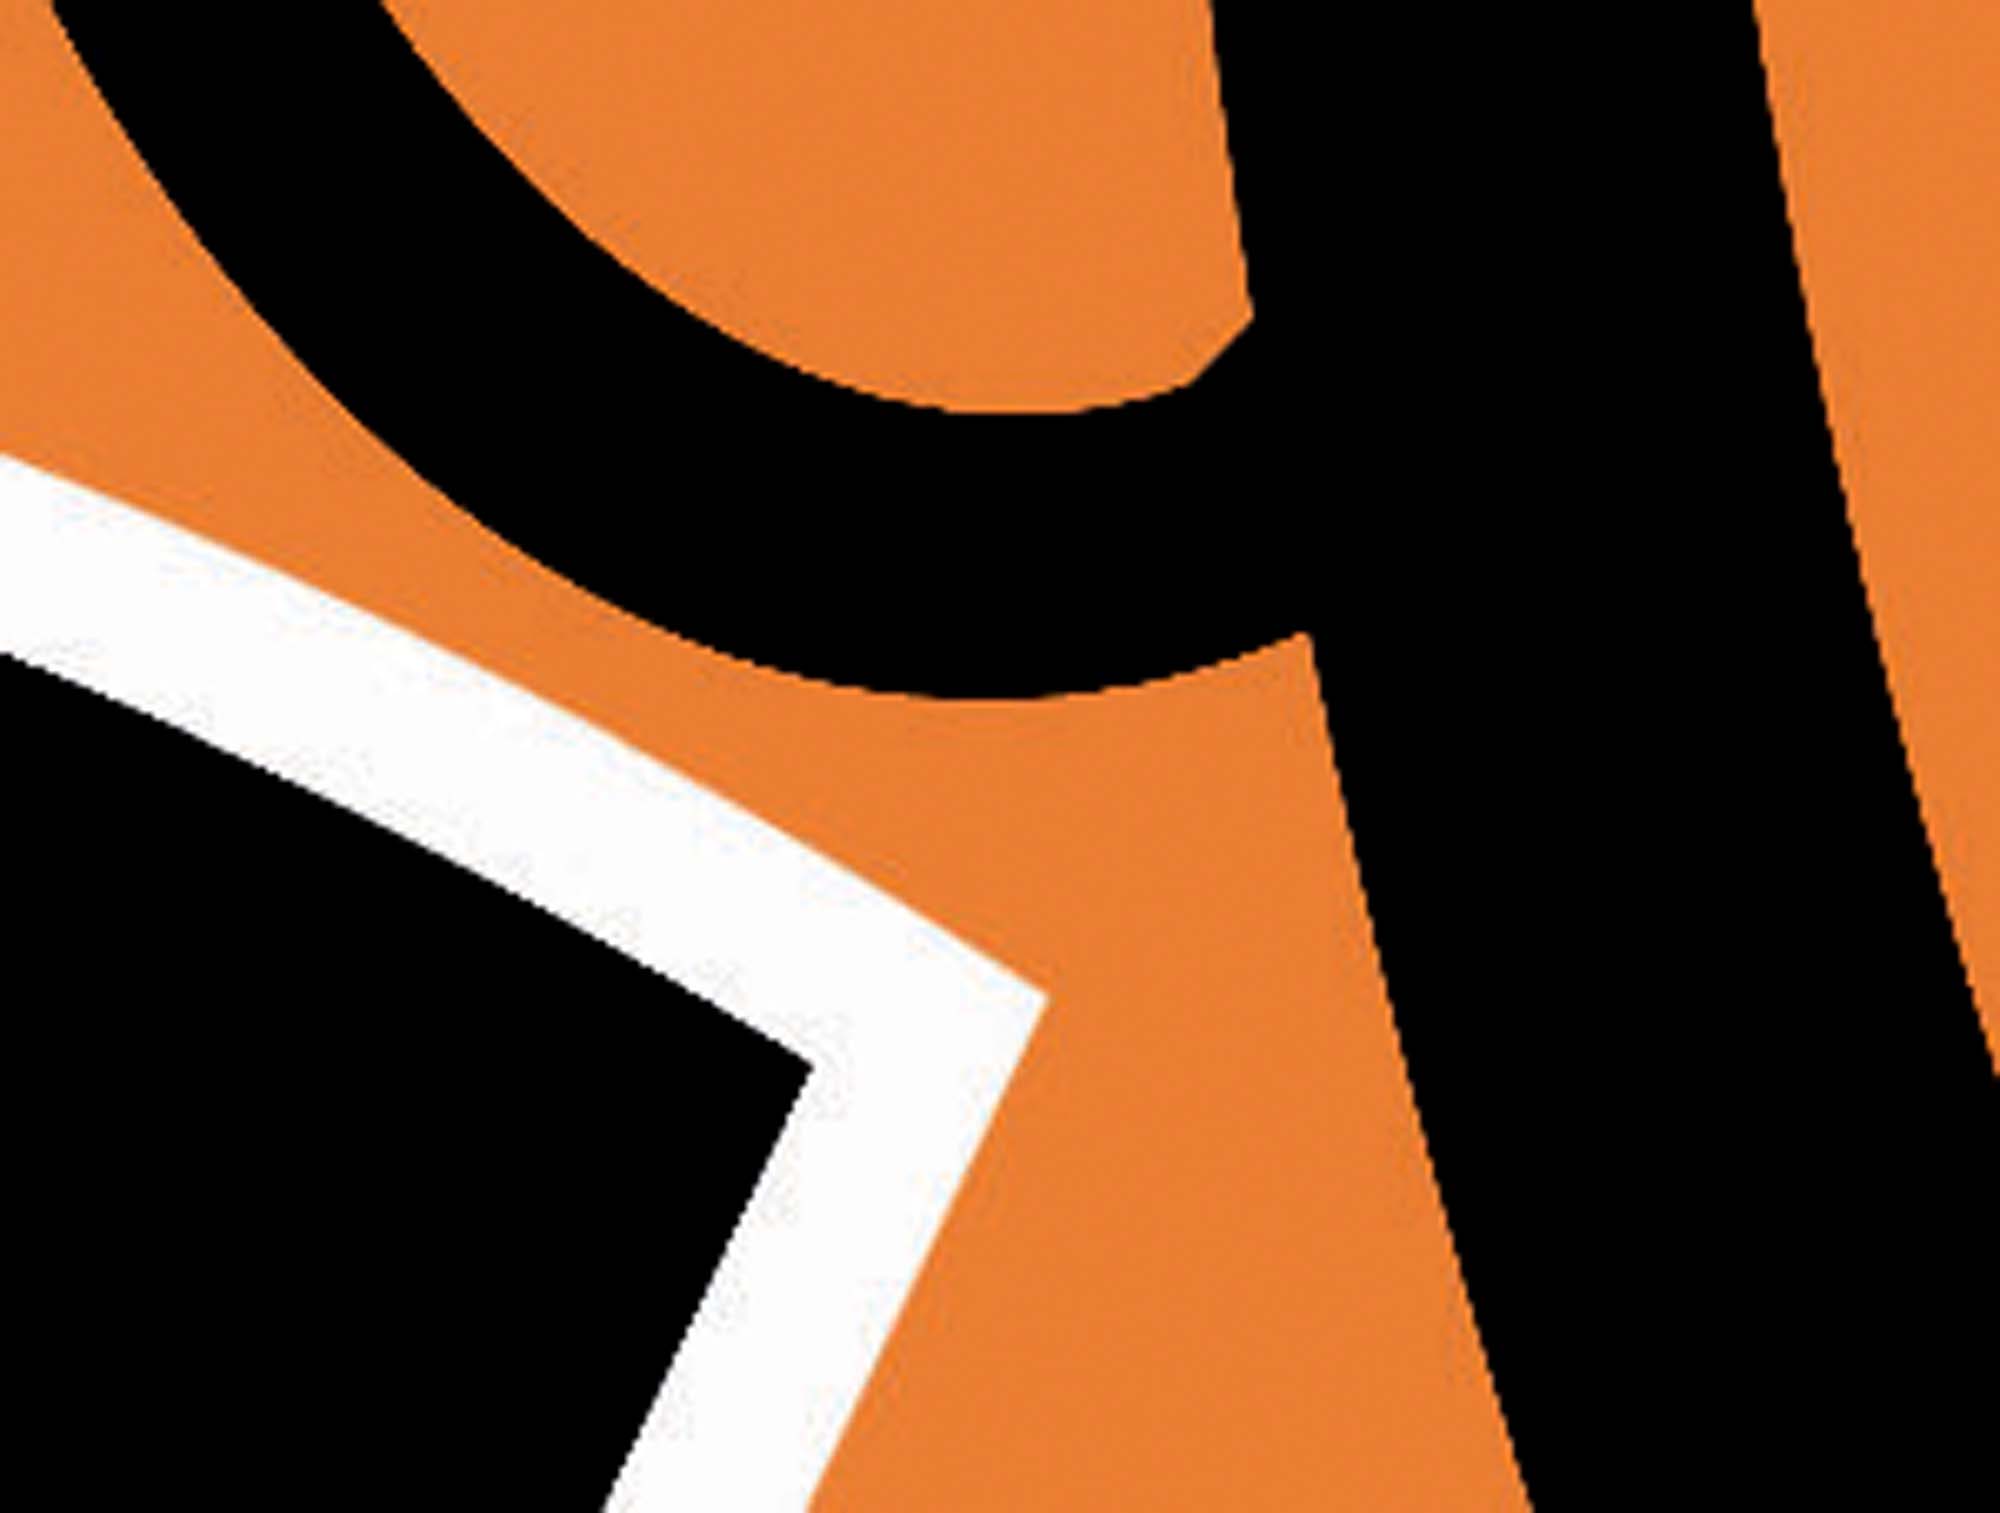
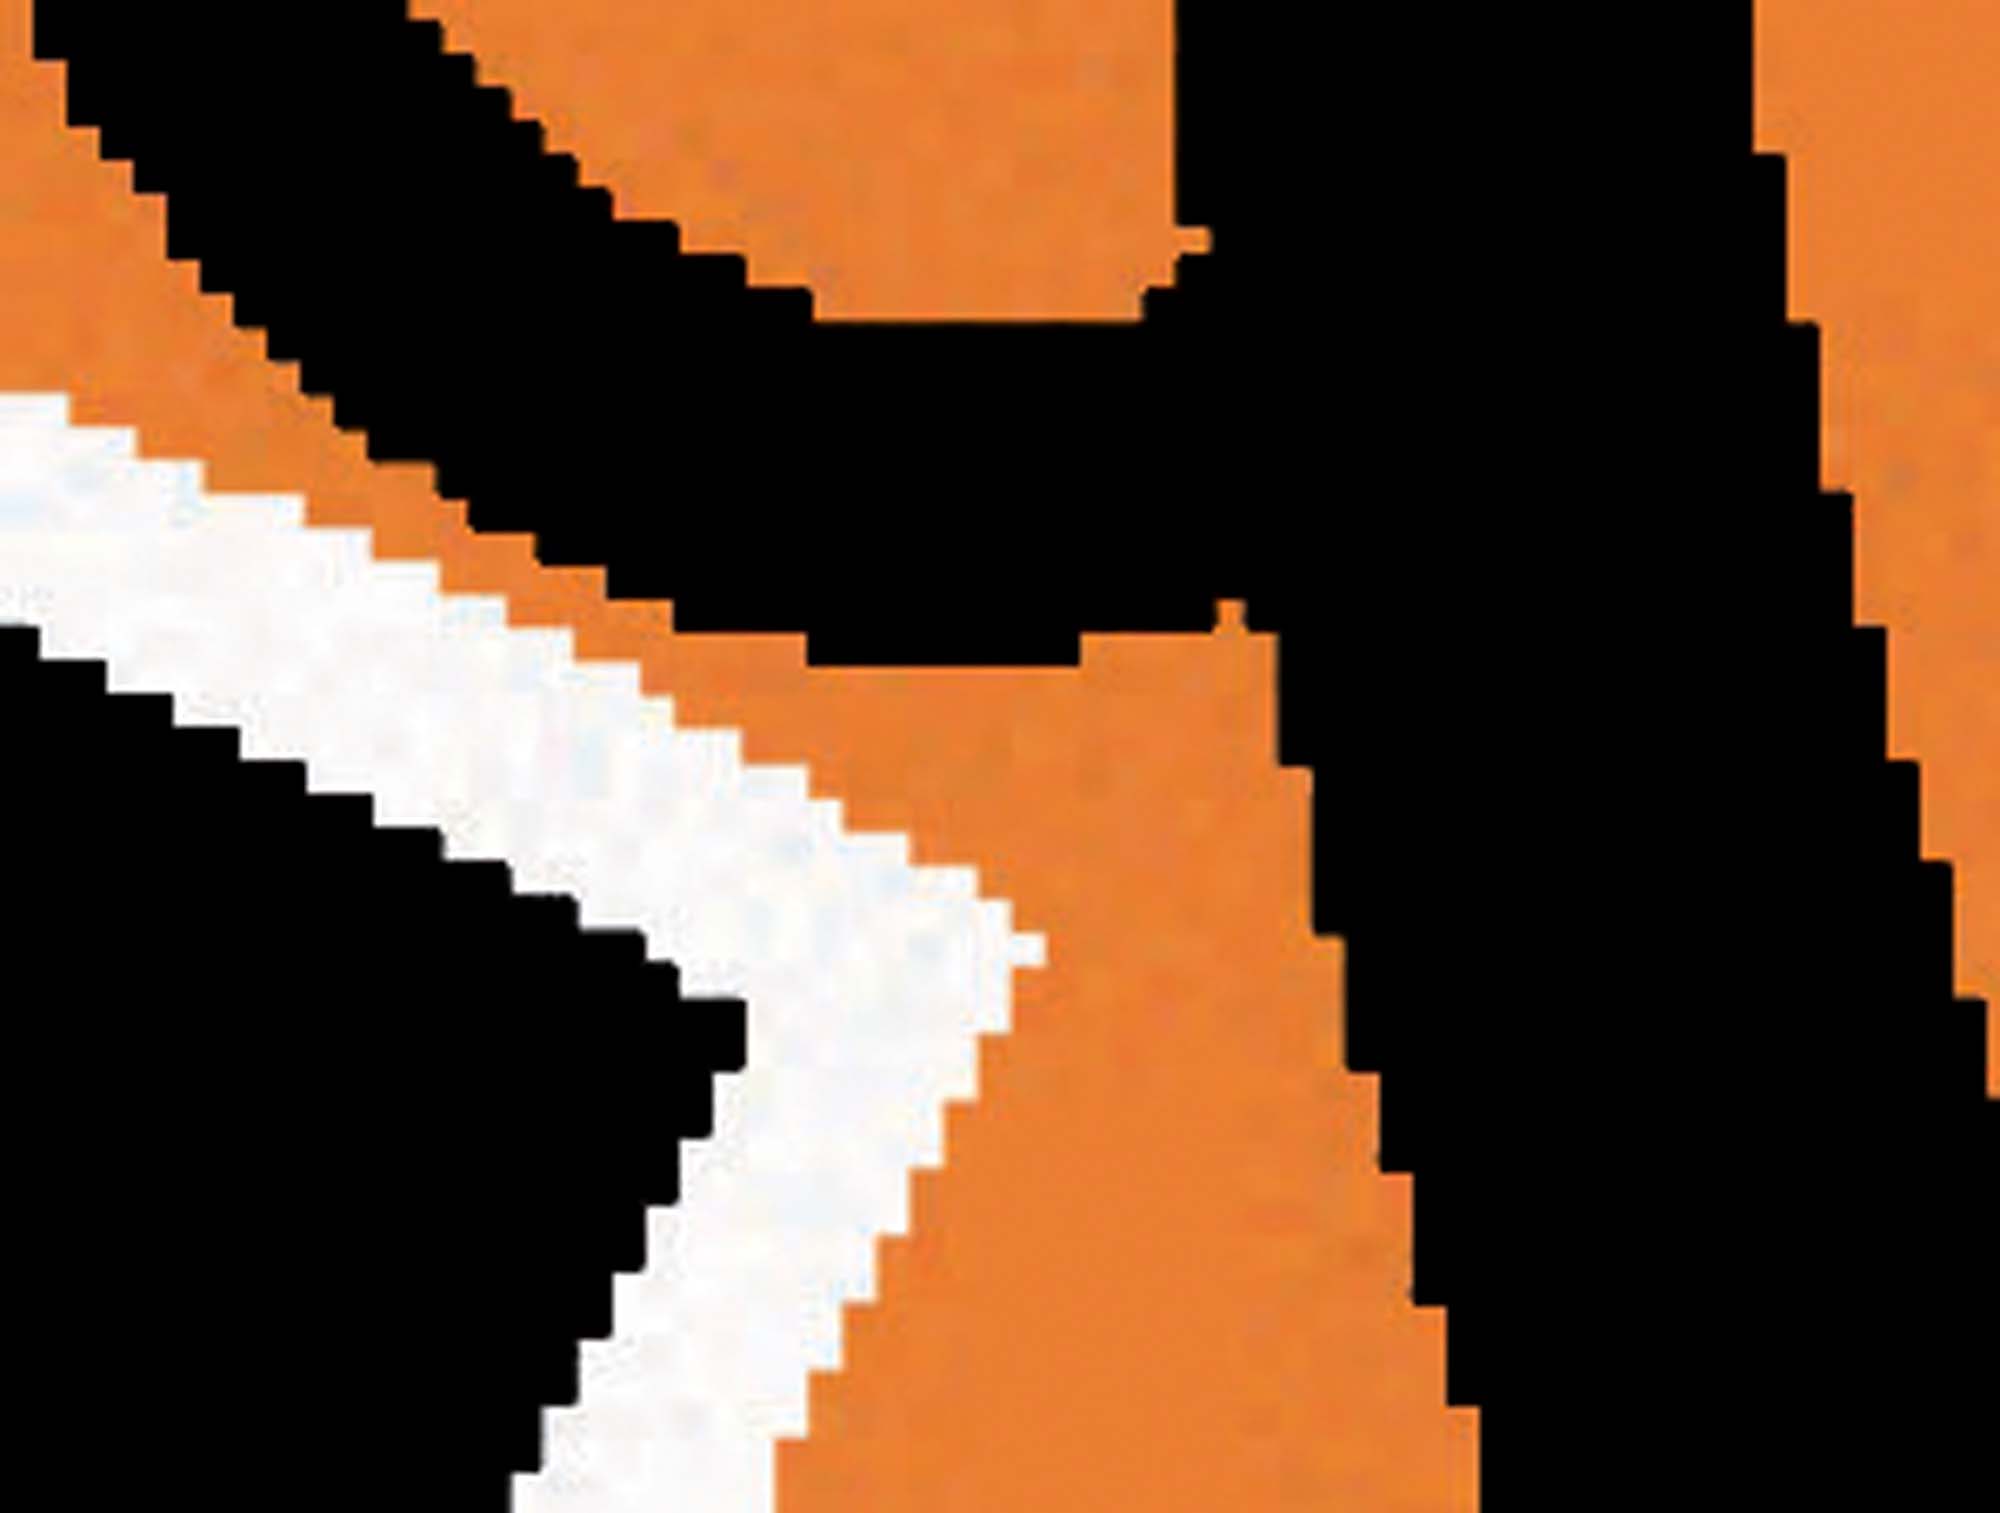
Let’s zoom start to zoom in on the artwork, starting at 200% and finishing at 6400% and see what happens.
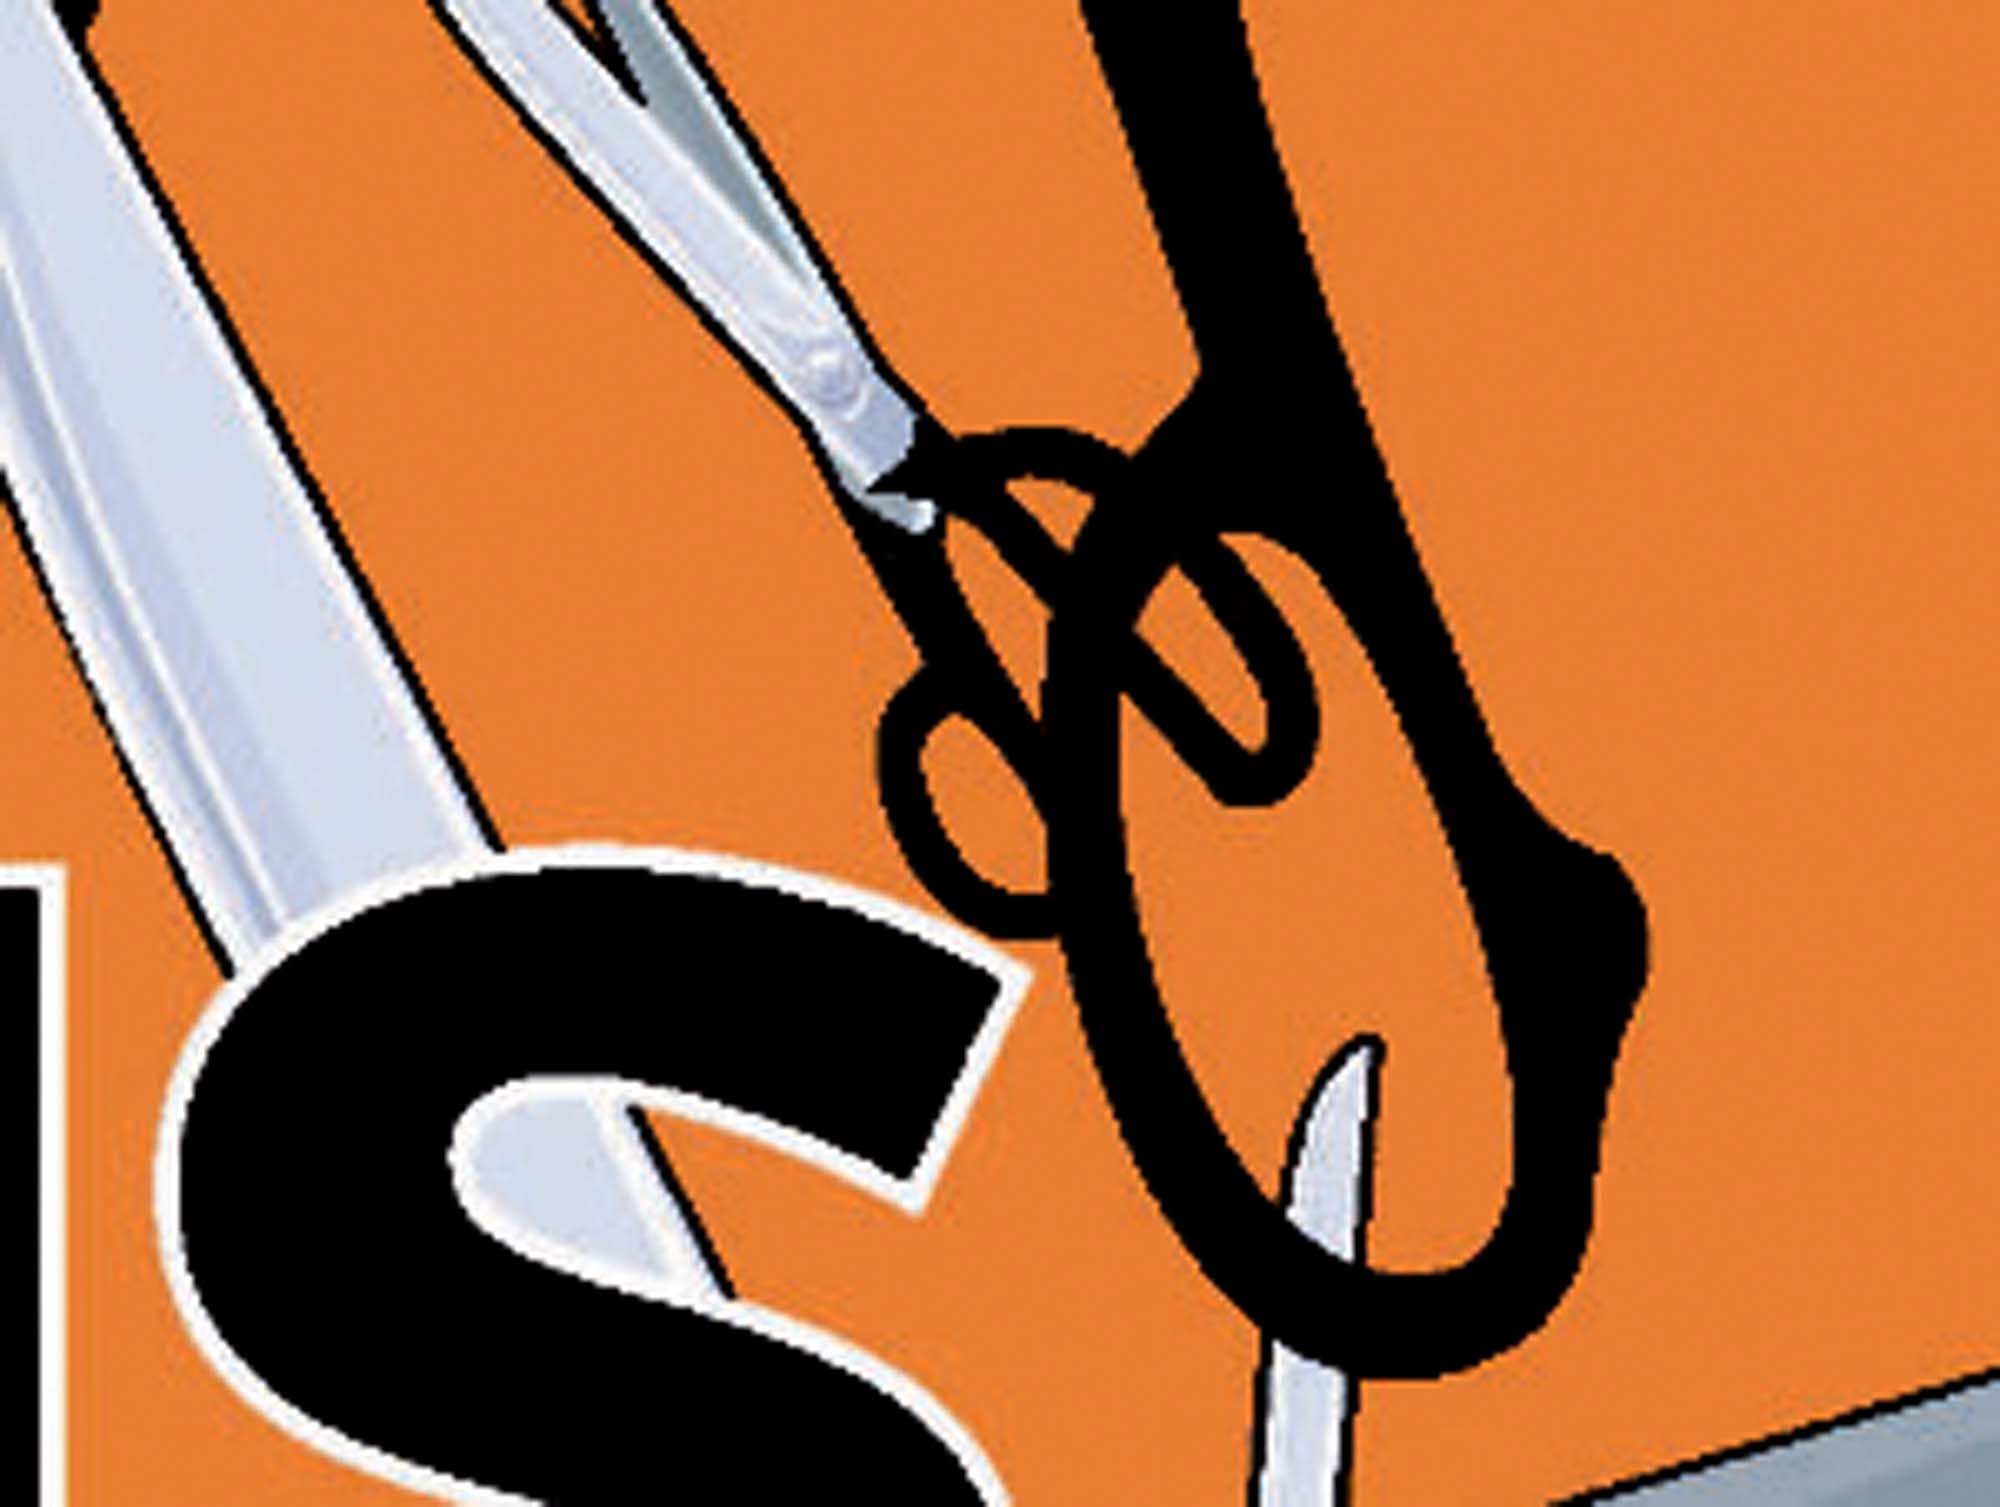
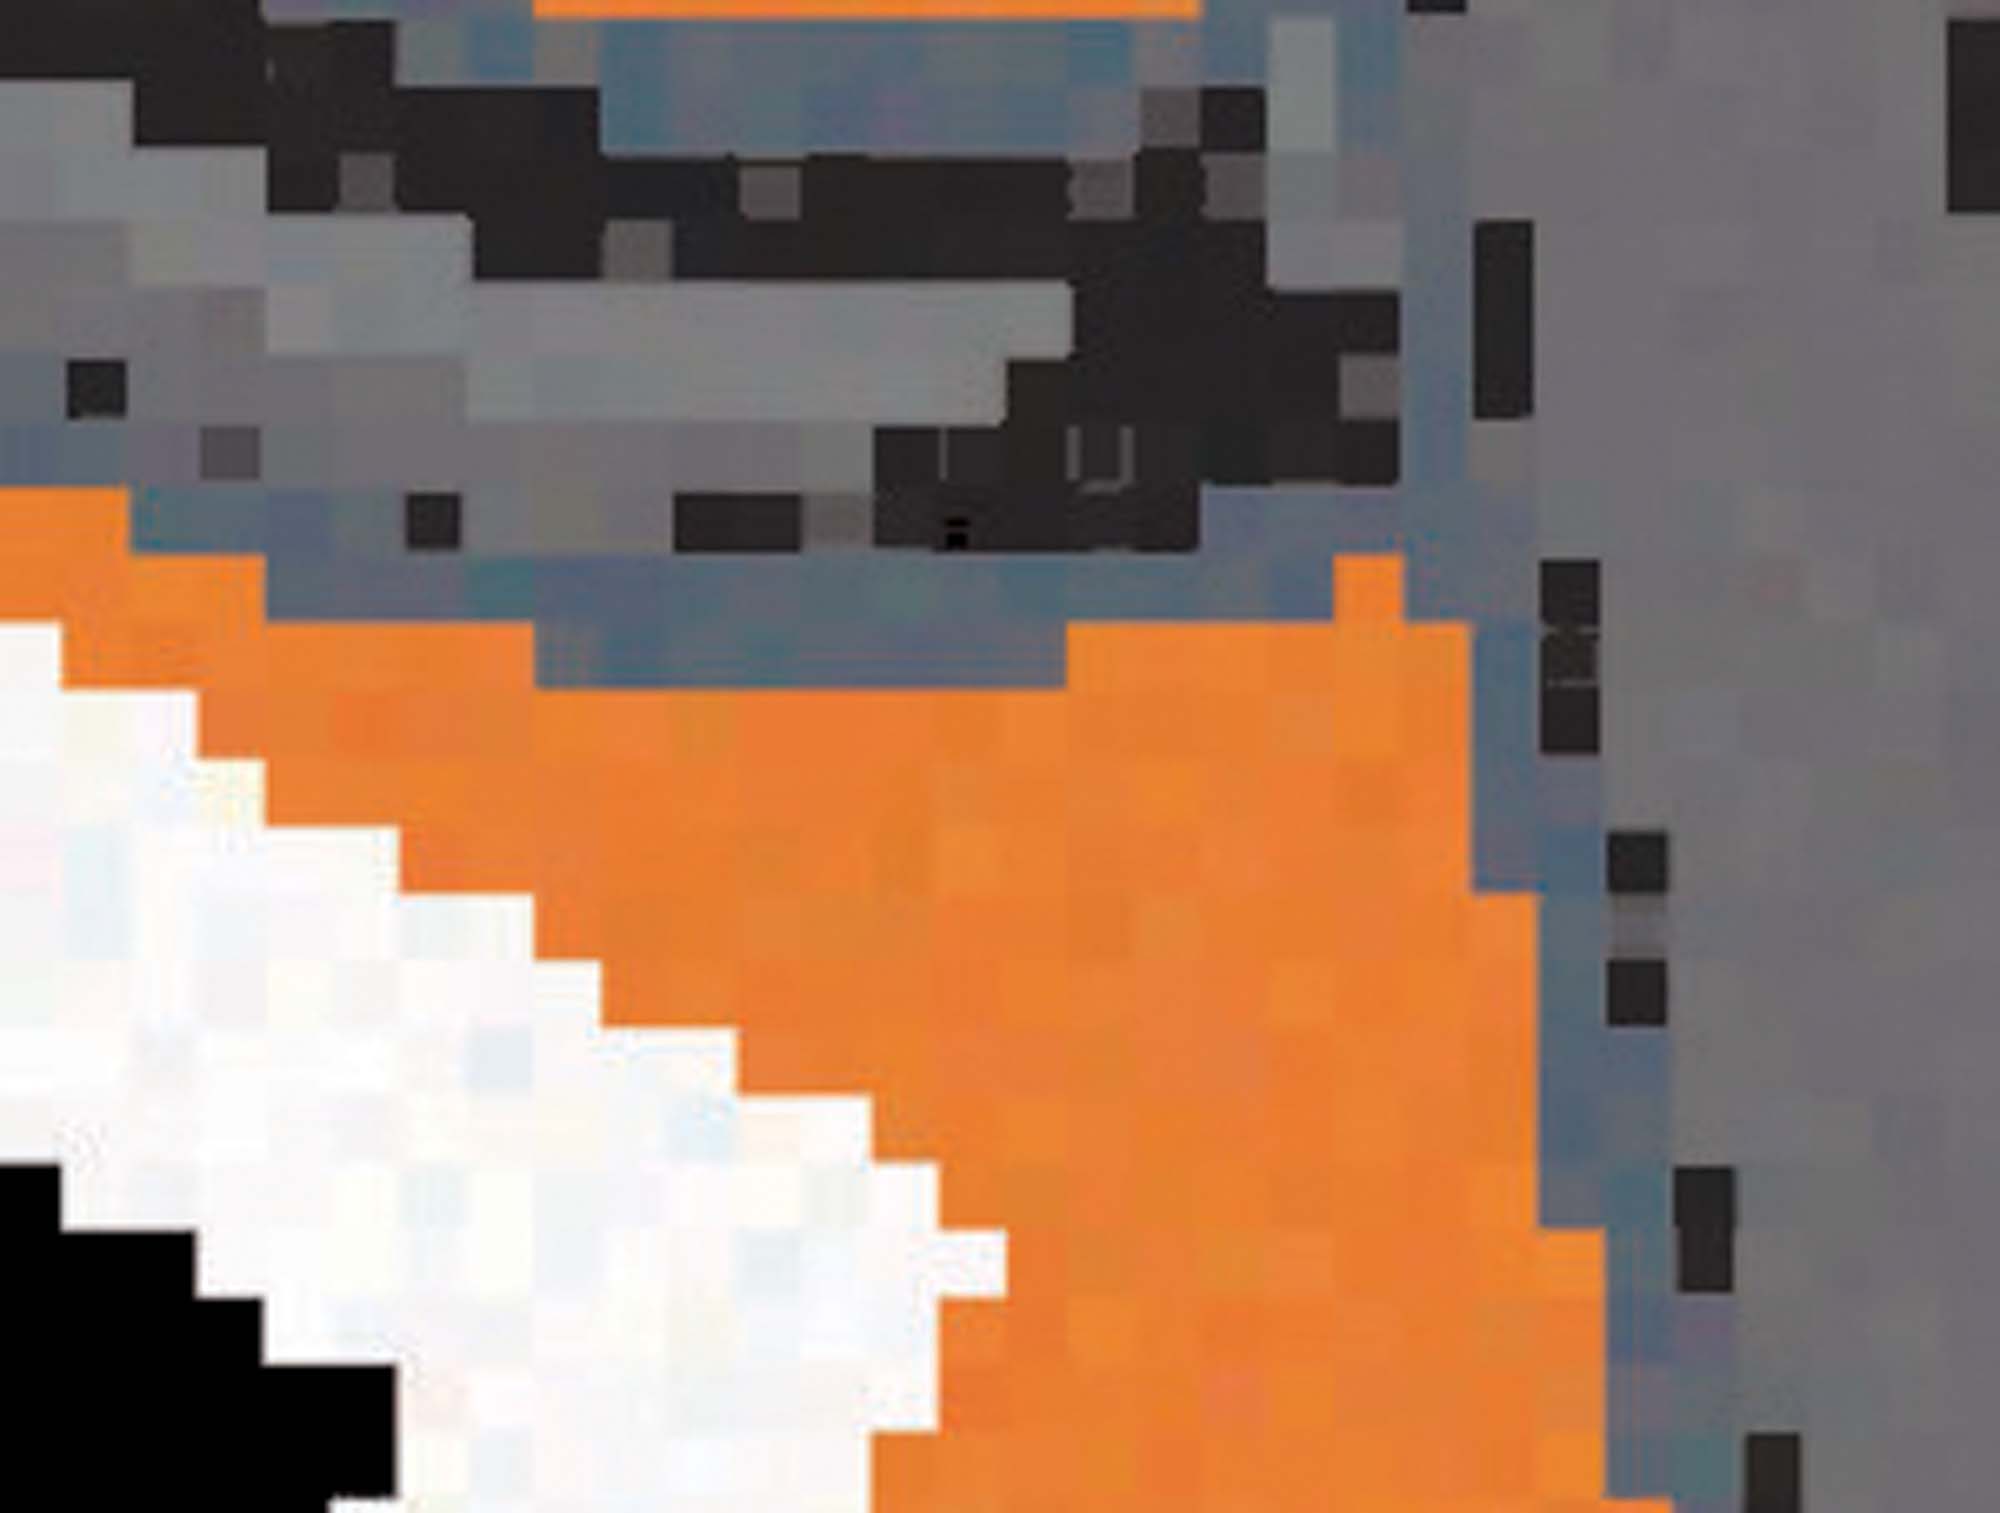
400% Raster
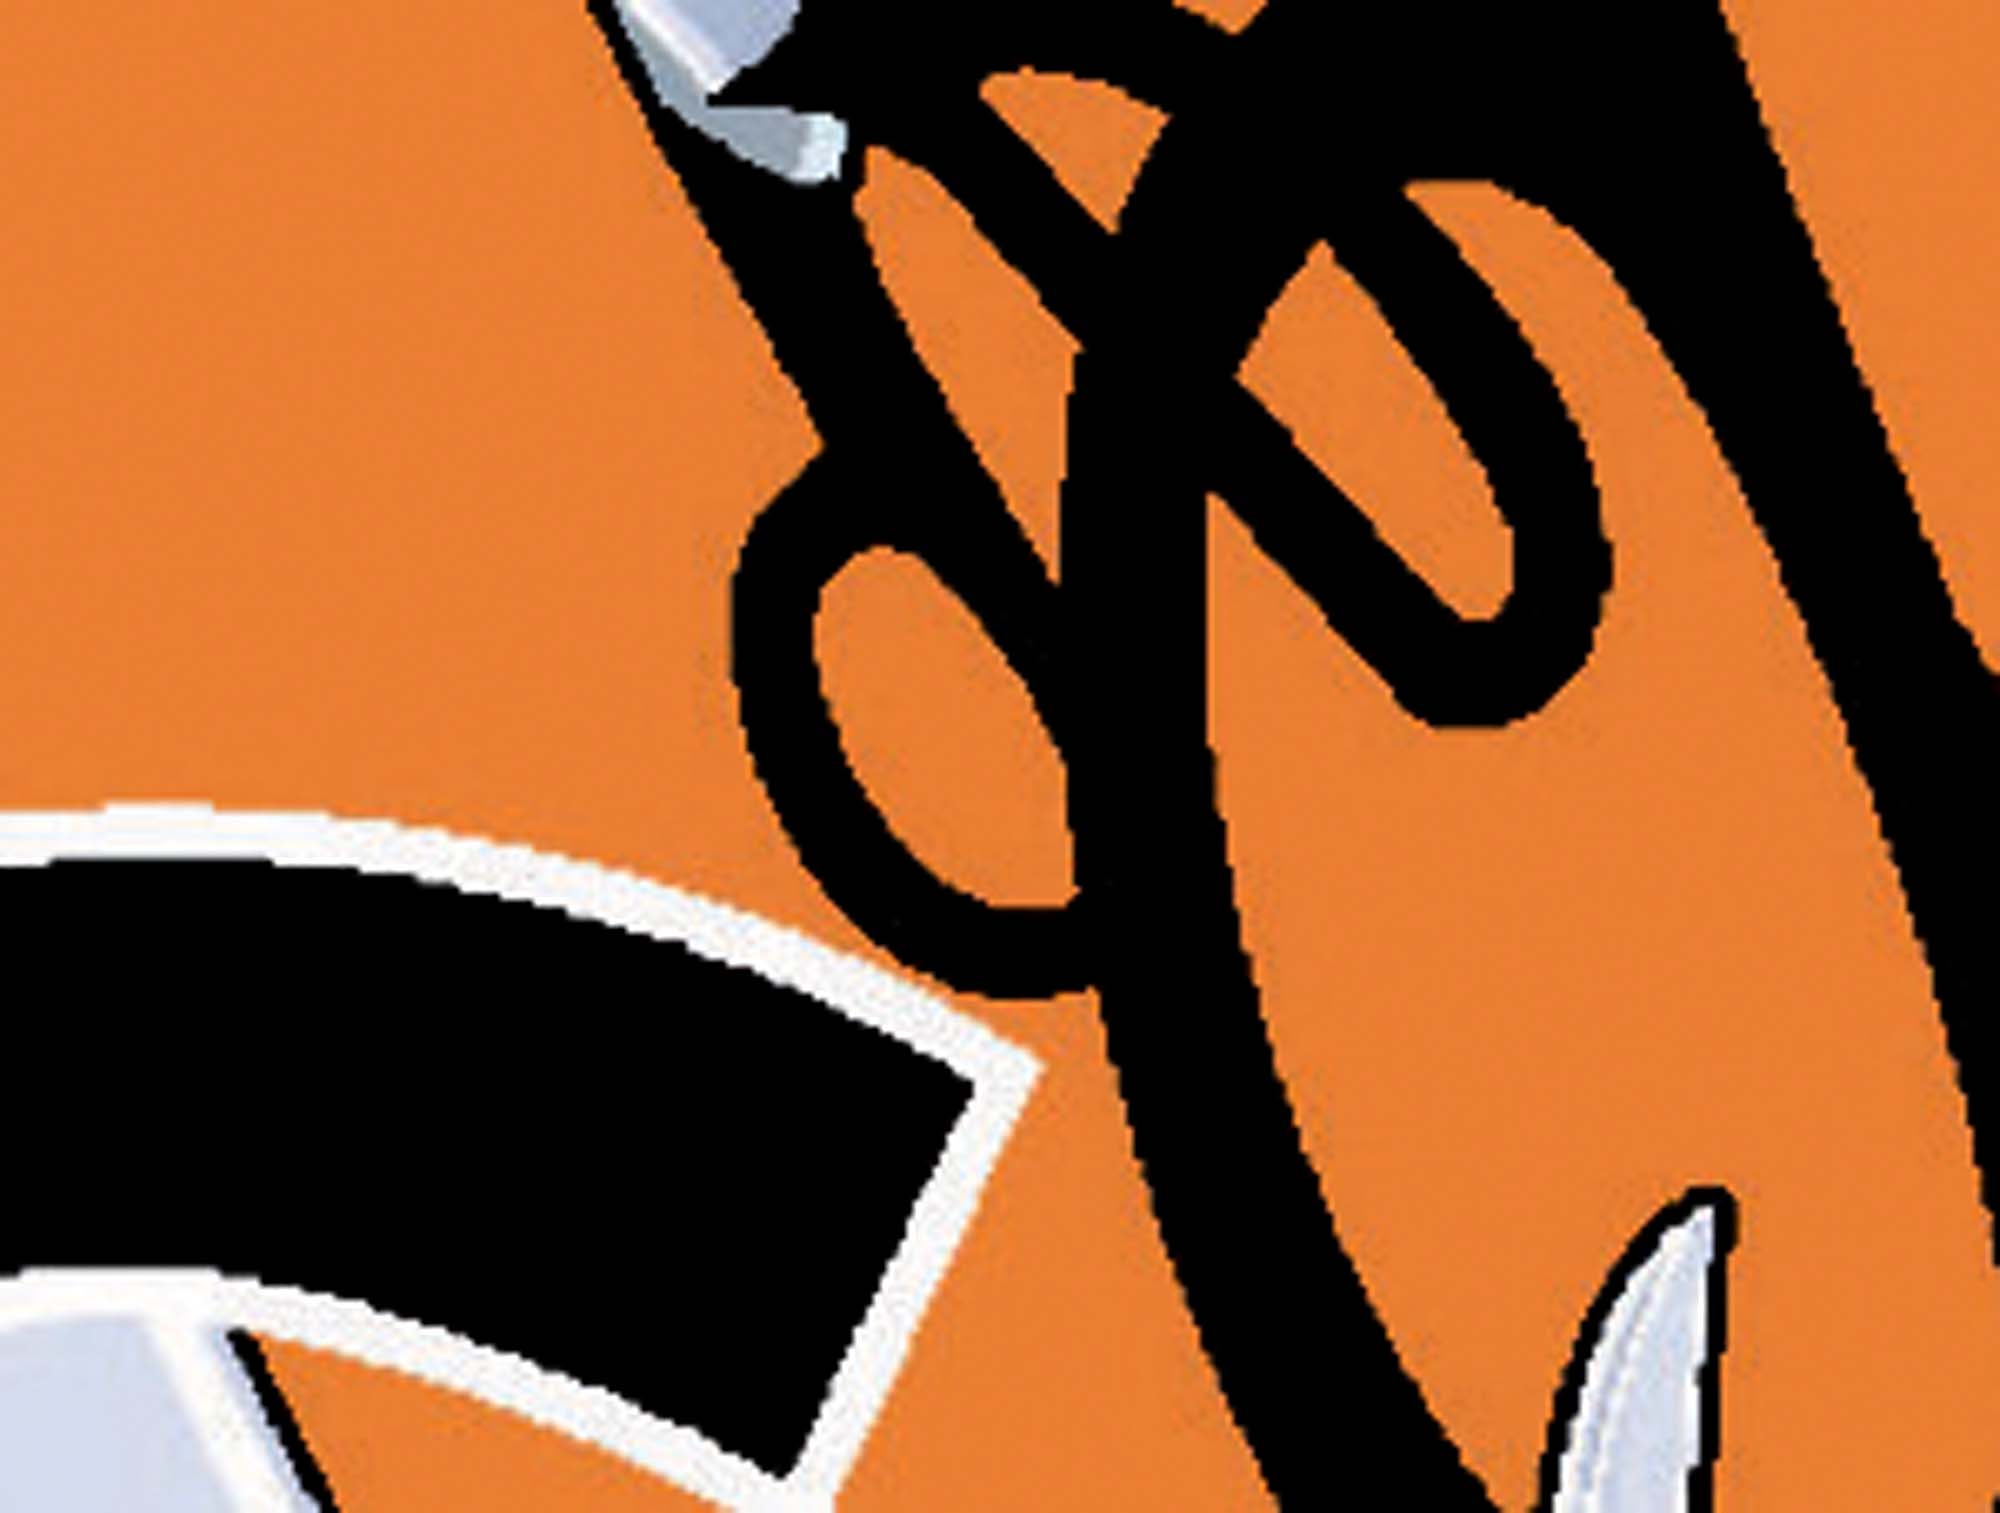
800% Raster
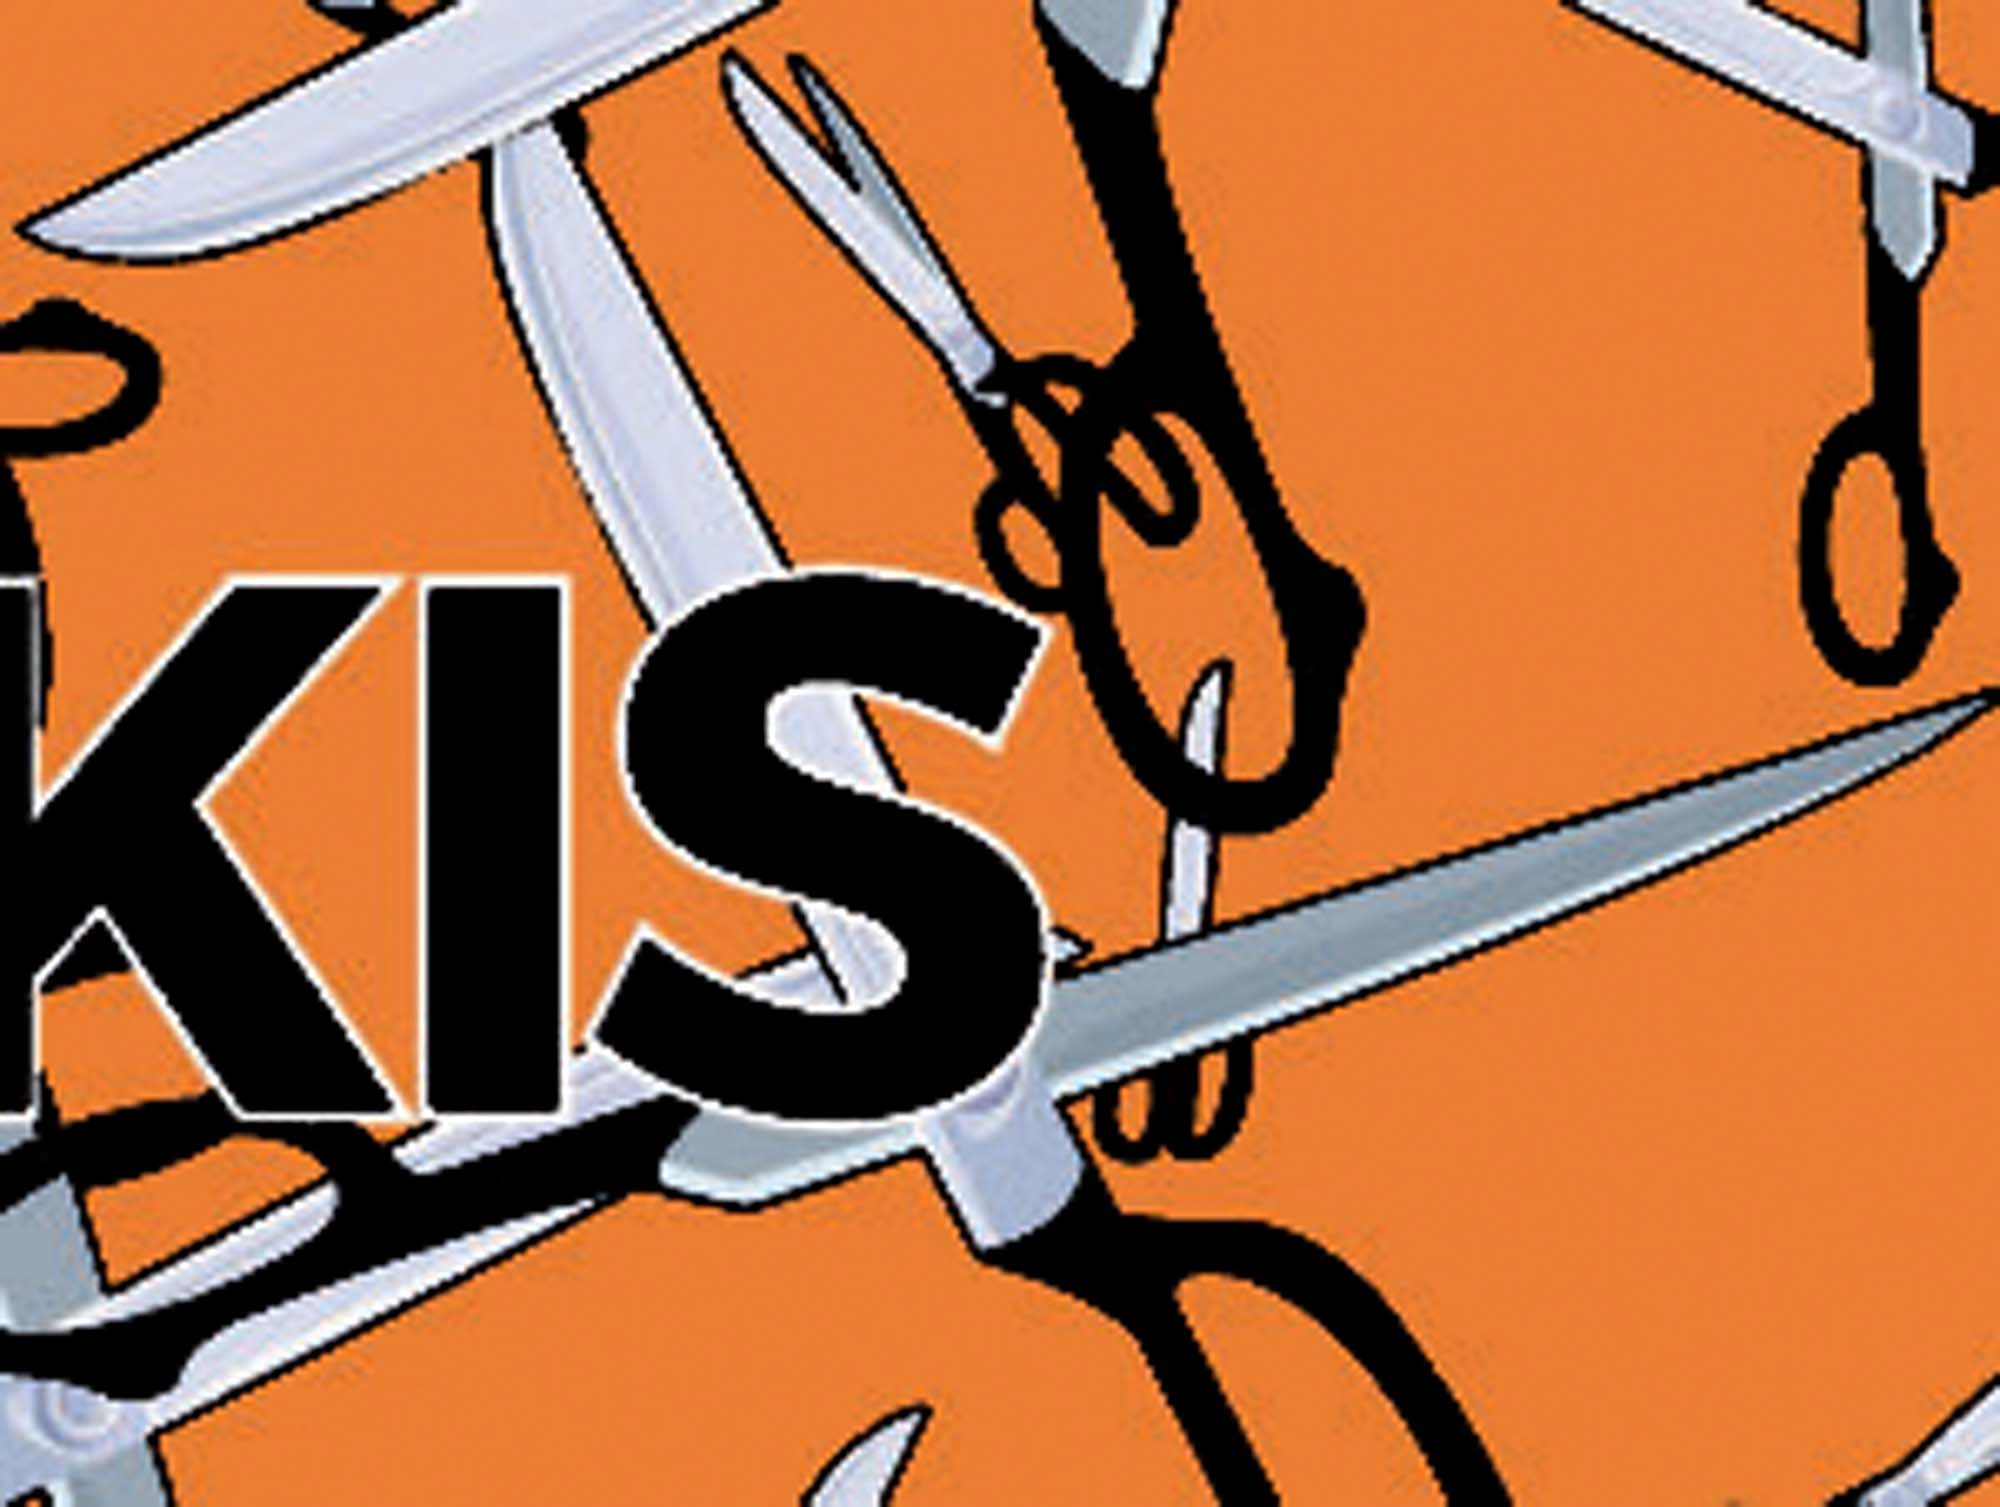
As you can clearly see, with vector artwork, it doesn’t matter how much you zoom in, the lines are always clear and crisp. This is very important for print where offset printing resolutions can go as high as 4800dpi. With raster artwork, if the DPI is not set correctly, your final print can look fuzzy and pixelated, particularly with text as images like photographs tend to be slightly more forgiving.
You can still print raster artwork but there many limitations that can occur preventing clean and crisp images from being printed.
I always evaluate your artwork for best quality and if there are any concerns I will address these with you and provide a solution.
What is CMYK?
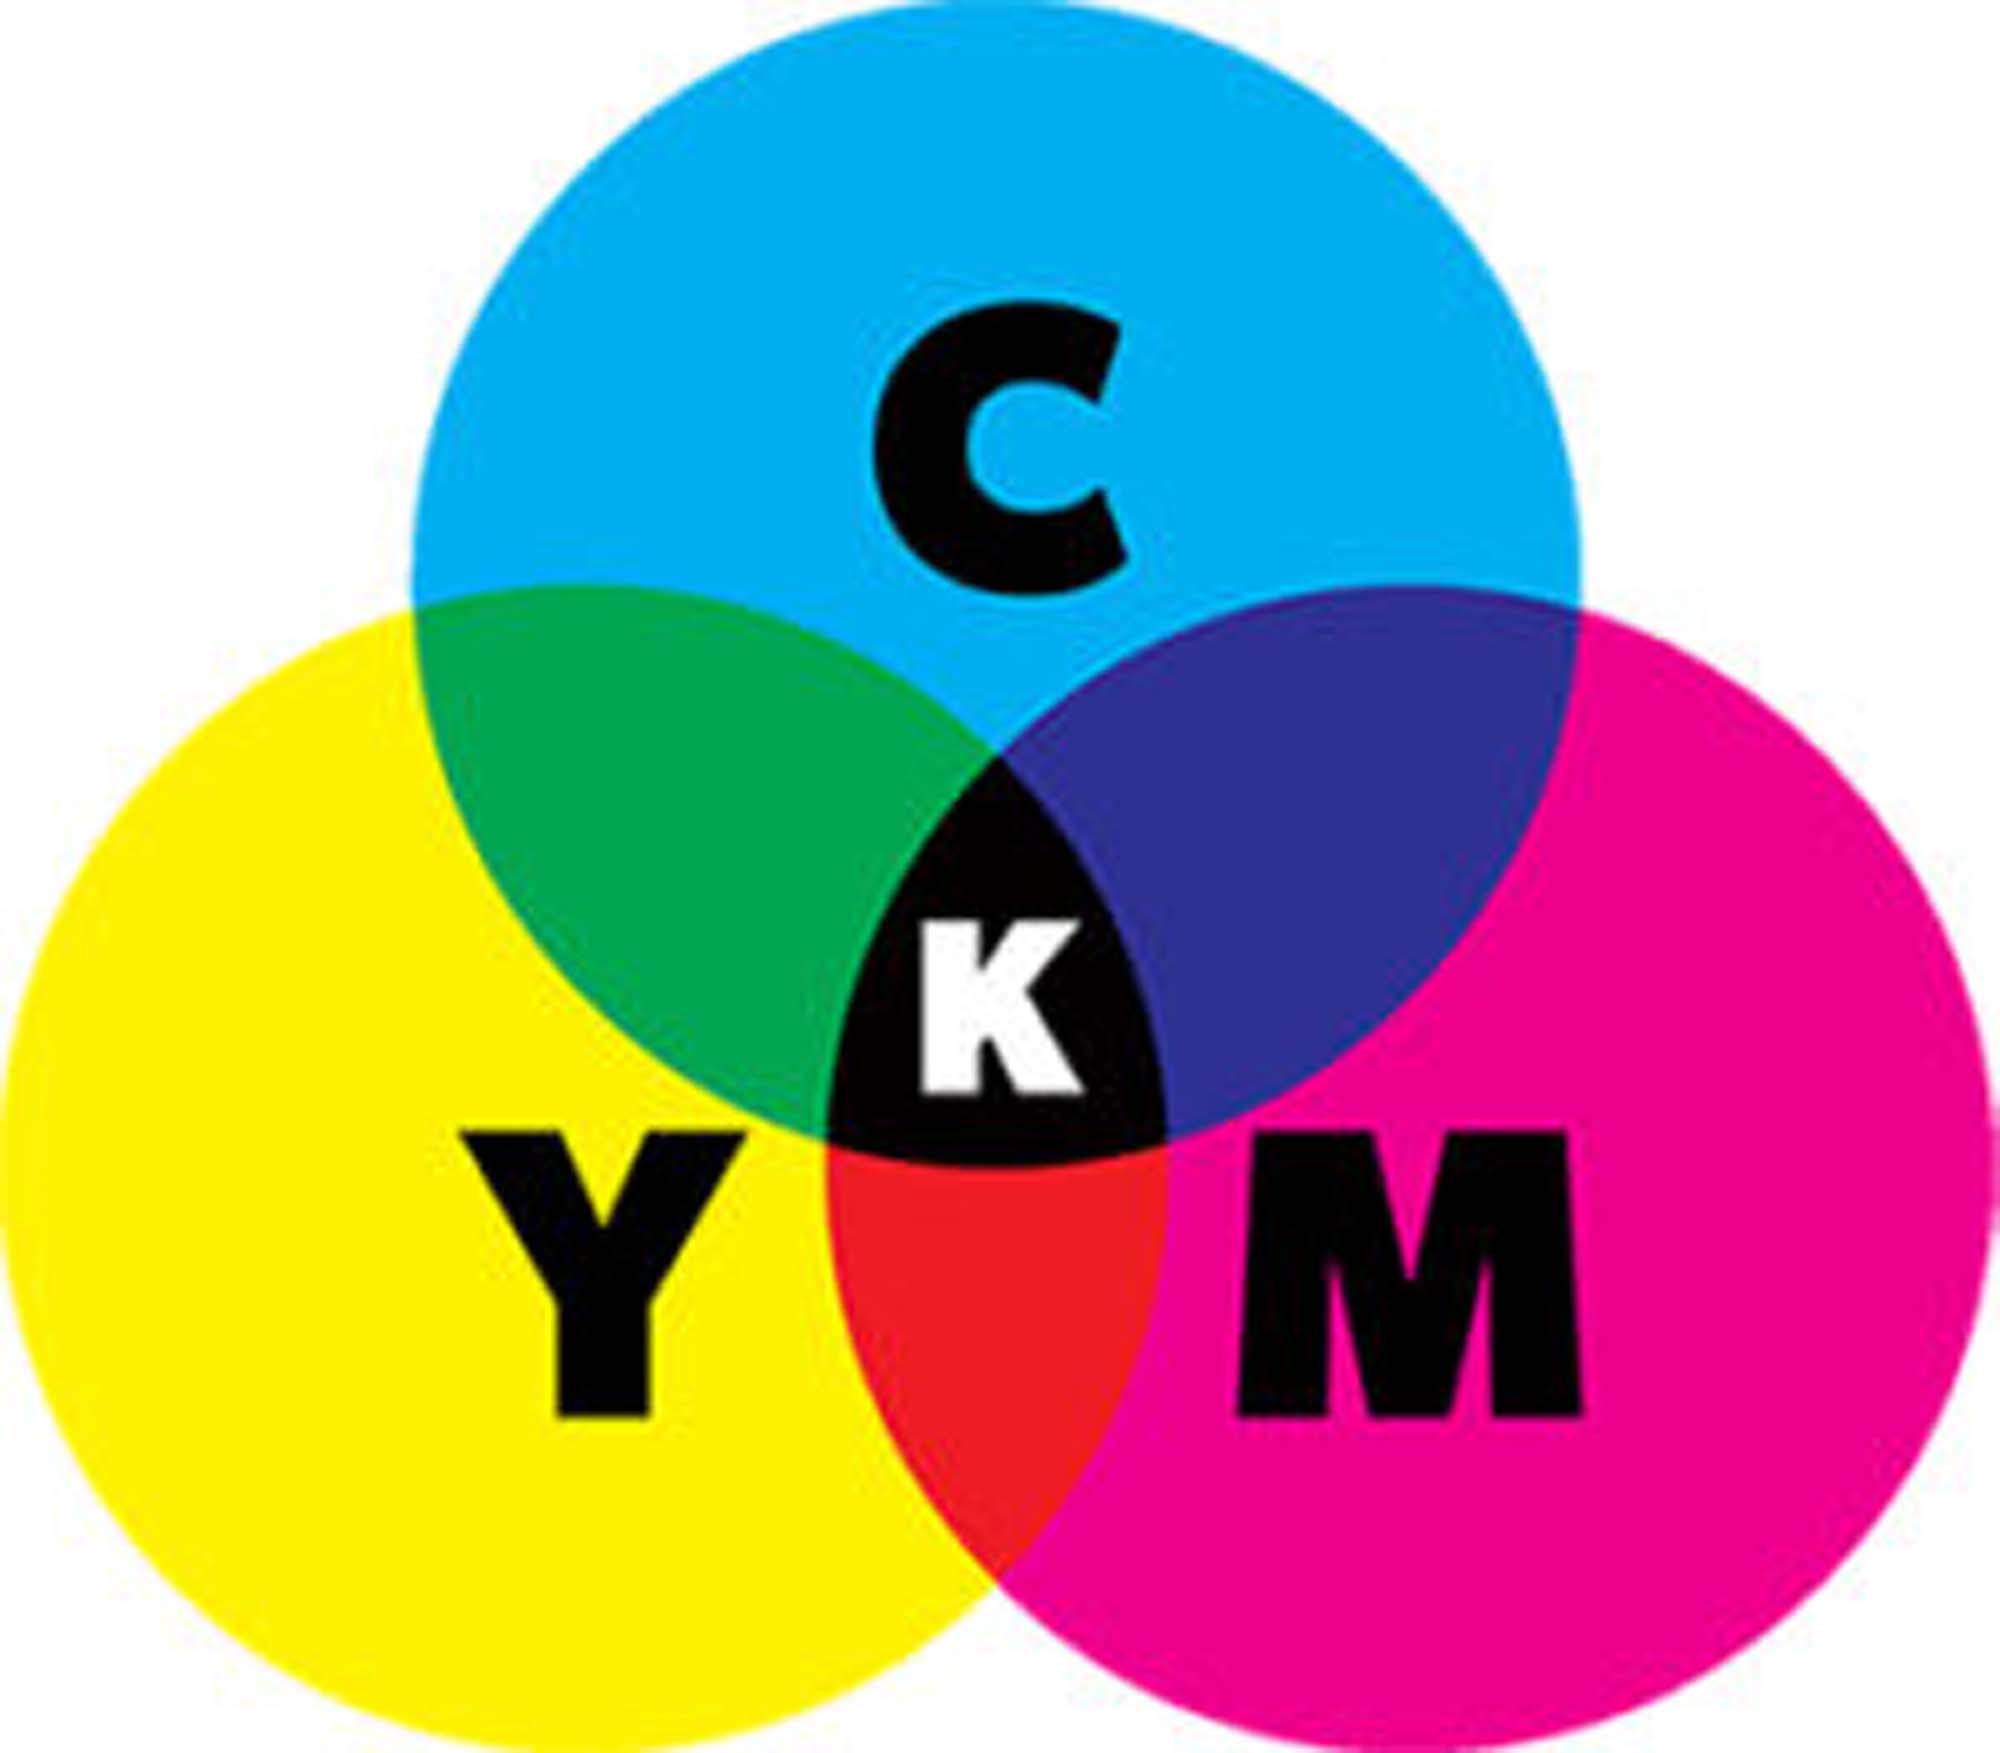
CMYK refers to the print inks used to laydown colours. Cyan, Magenta, Yellow and K for Black. The print process uses different concentrations of these four inks to create millions of colours.
For offset printing, the printing process starts off with layout and plating, which creates an impression of your artwork on a metal plate, for each of the colours required. The process for putting ink onto the page occurs with a metal impression on drum. Each colour has its own drum and colour is pressed onto the page as is passes each drum. On some offset presses, only one side of the page is printed, allowed to dry, flipped and then the other side is printed, allowed to dry then guillotined and final finishing, crash folding, gluing, perfing etc, can occur after that process is completed.
(link to full print terminology) – TBA
(link to why reprints, or even cancelling the job after approval can be expensive) – TBA
In the image above, it shows a mix of CMY to produce what’s called a ‘rich black’. However this is an expensive way to reproduce black as three inks are being used instead of one. A fourth ink ‘K’, or black is used instead.
Newer technologies now allow for white, clear and even fluorescent inks for black lighting.
Text, trim and bleed edges (or borders) explained:
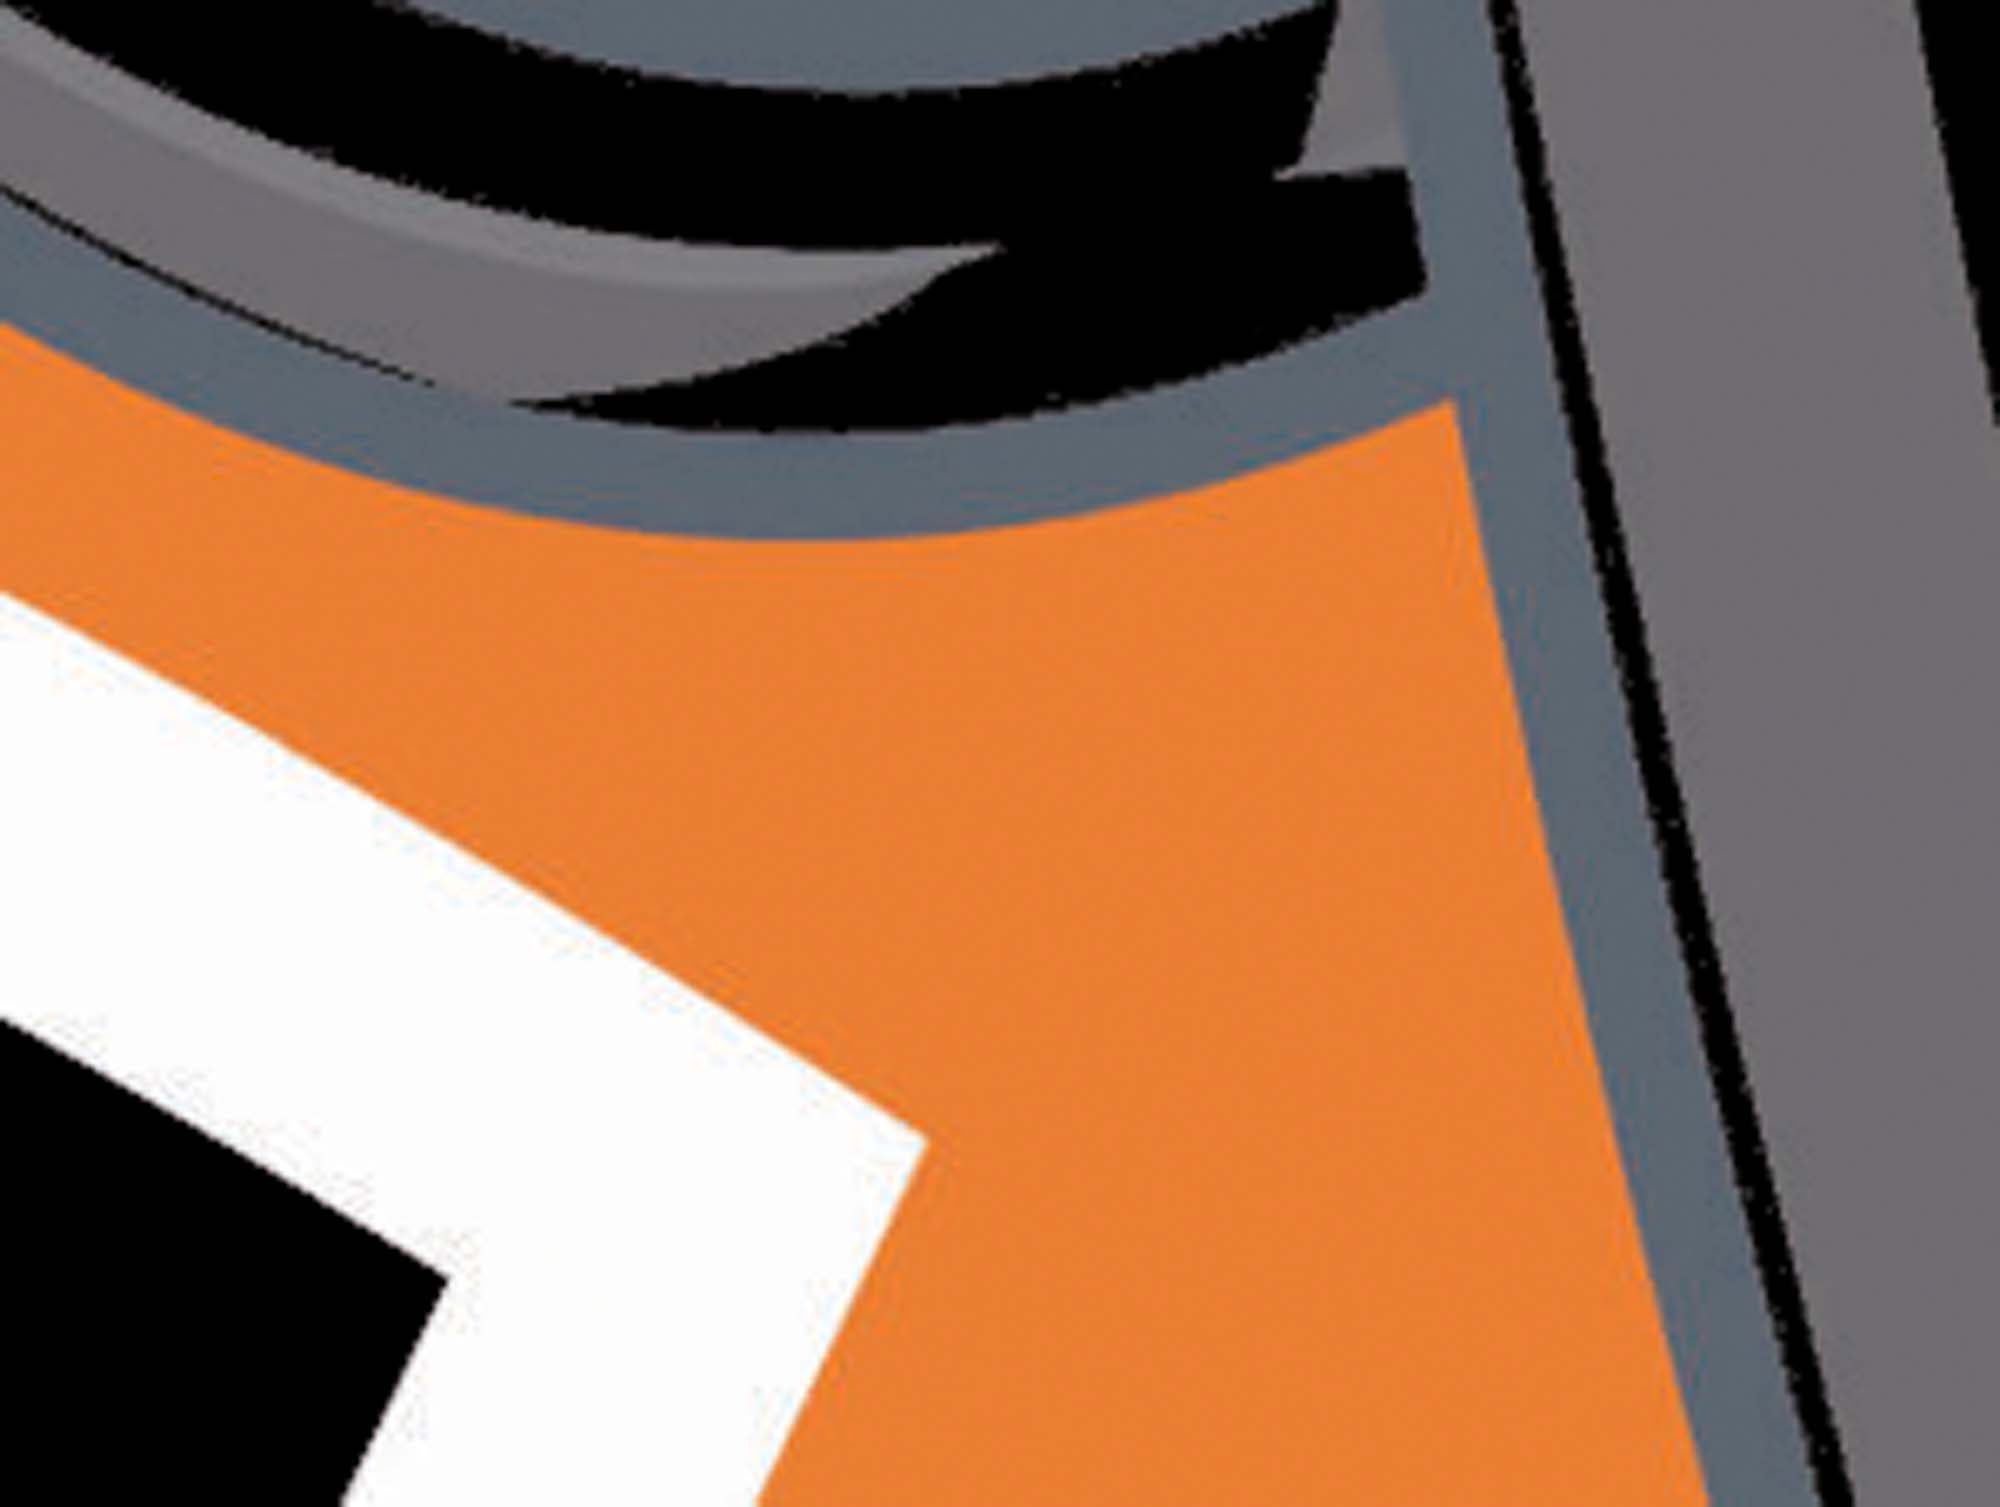
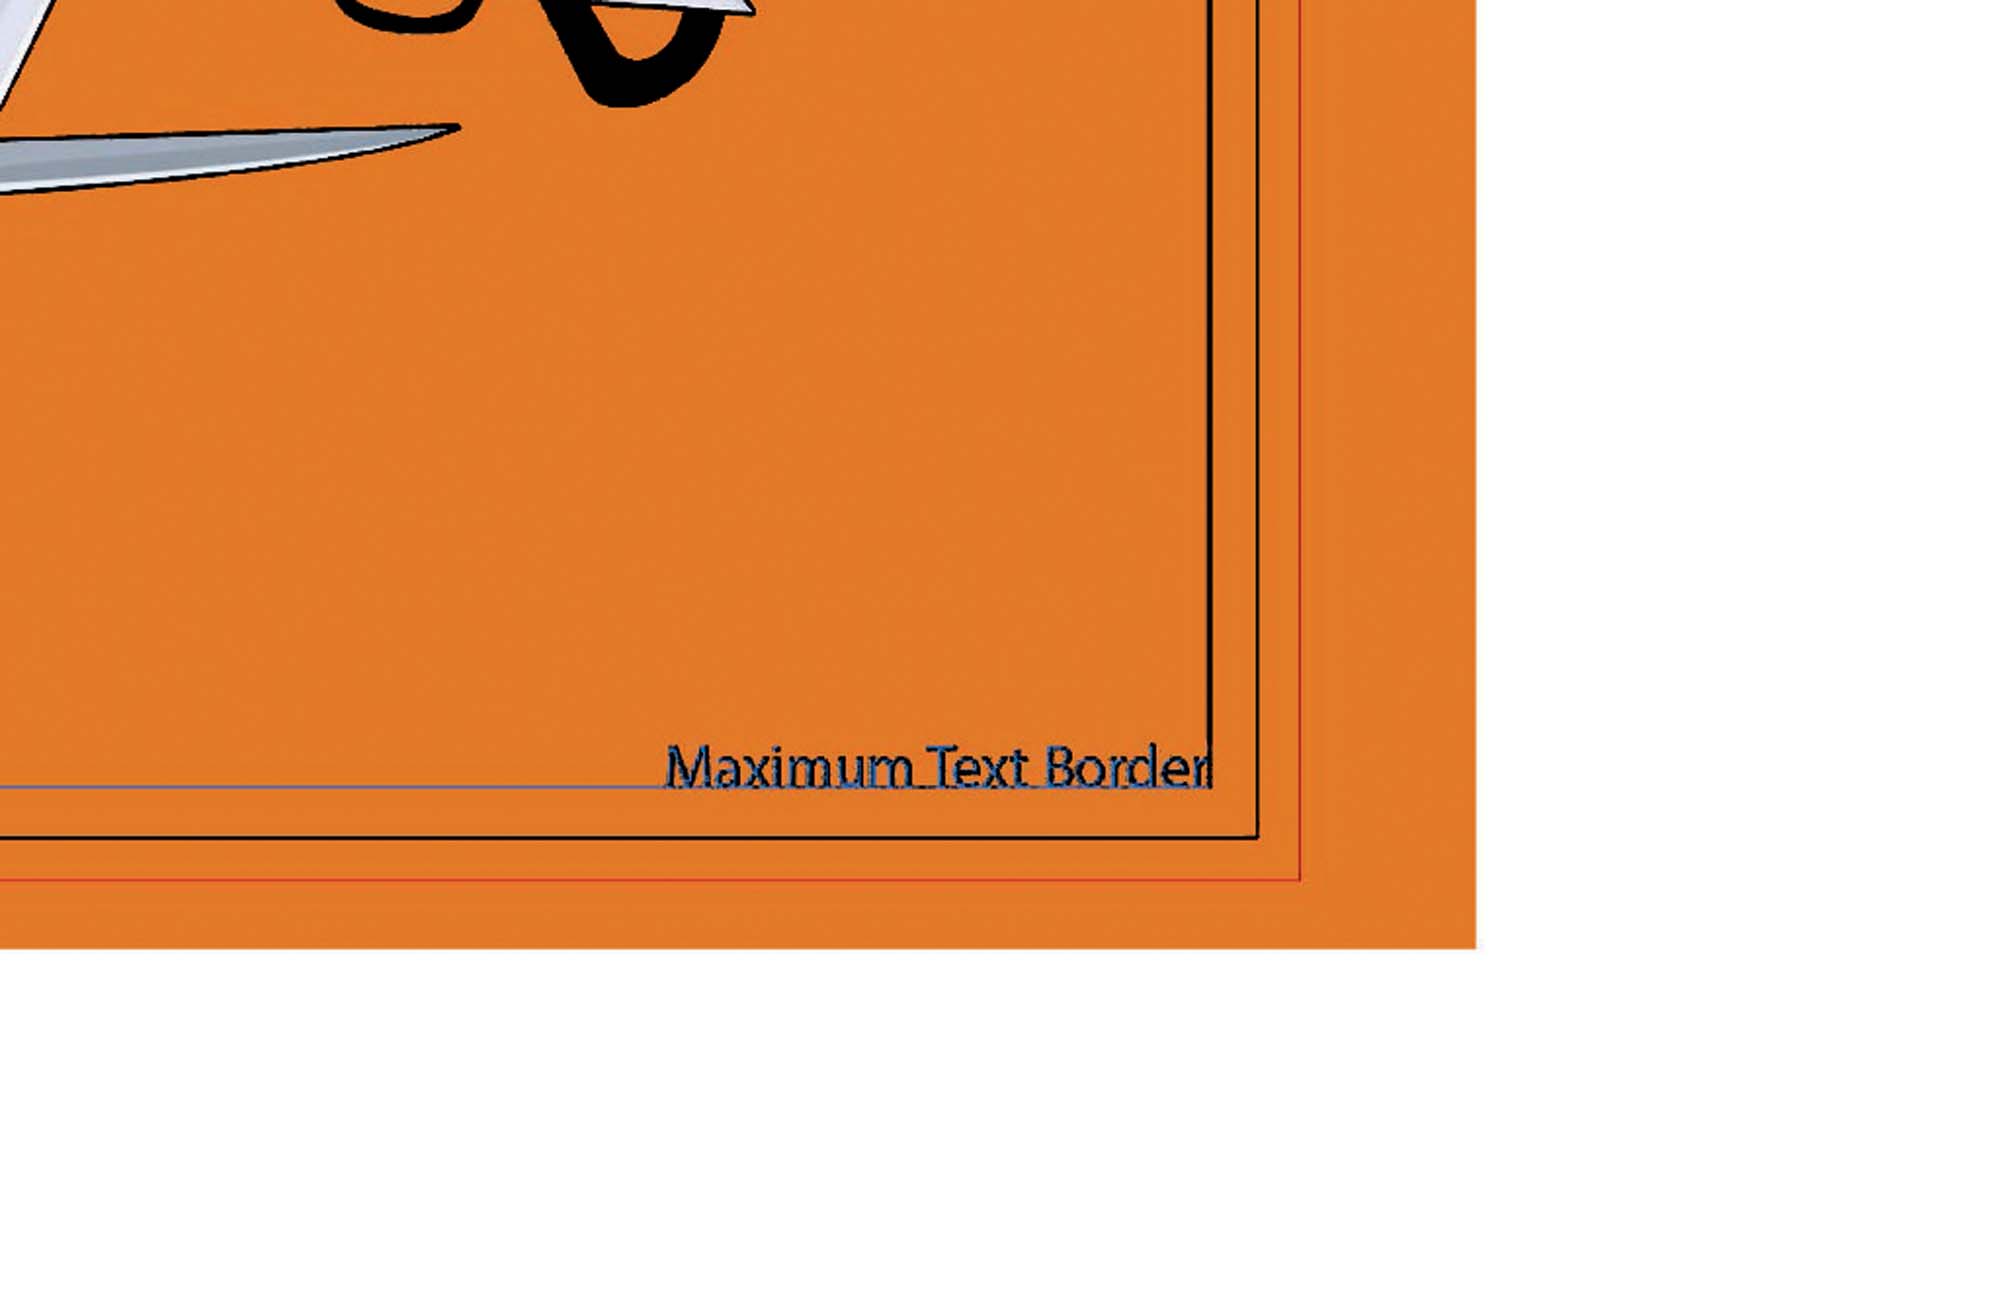
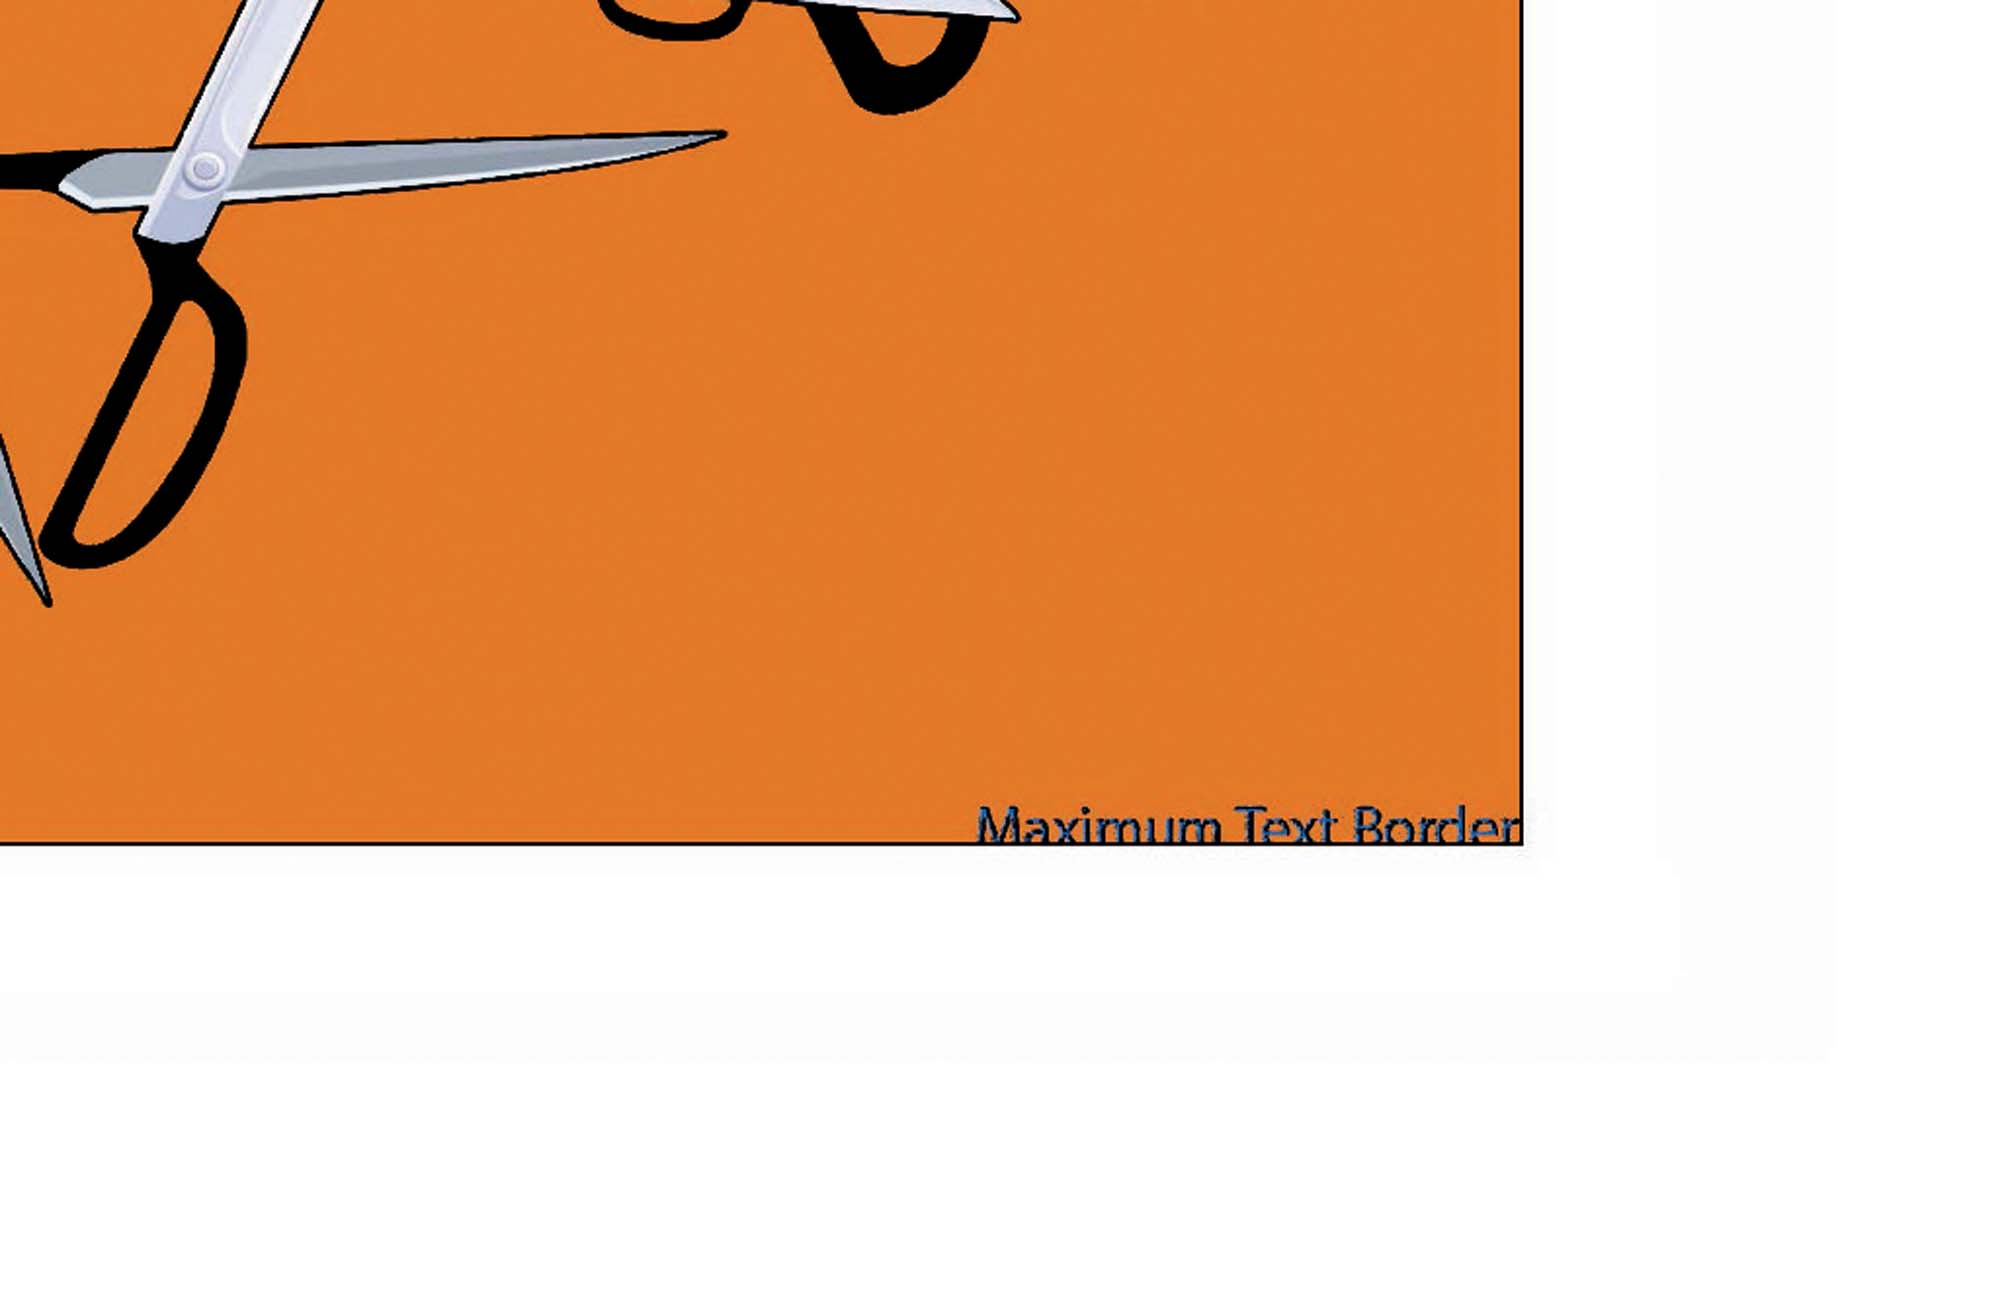
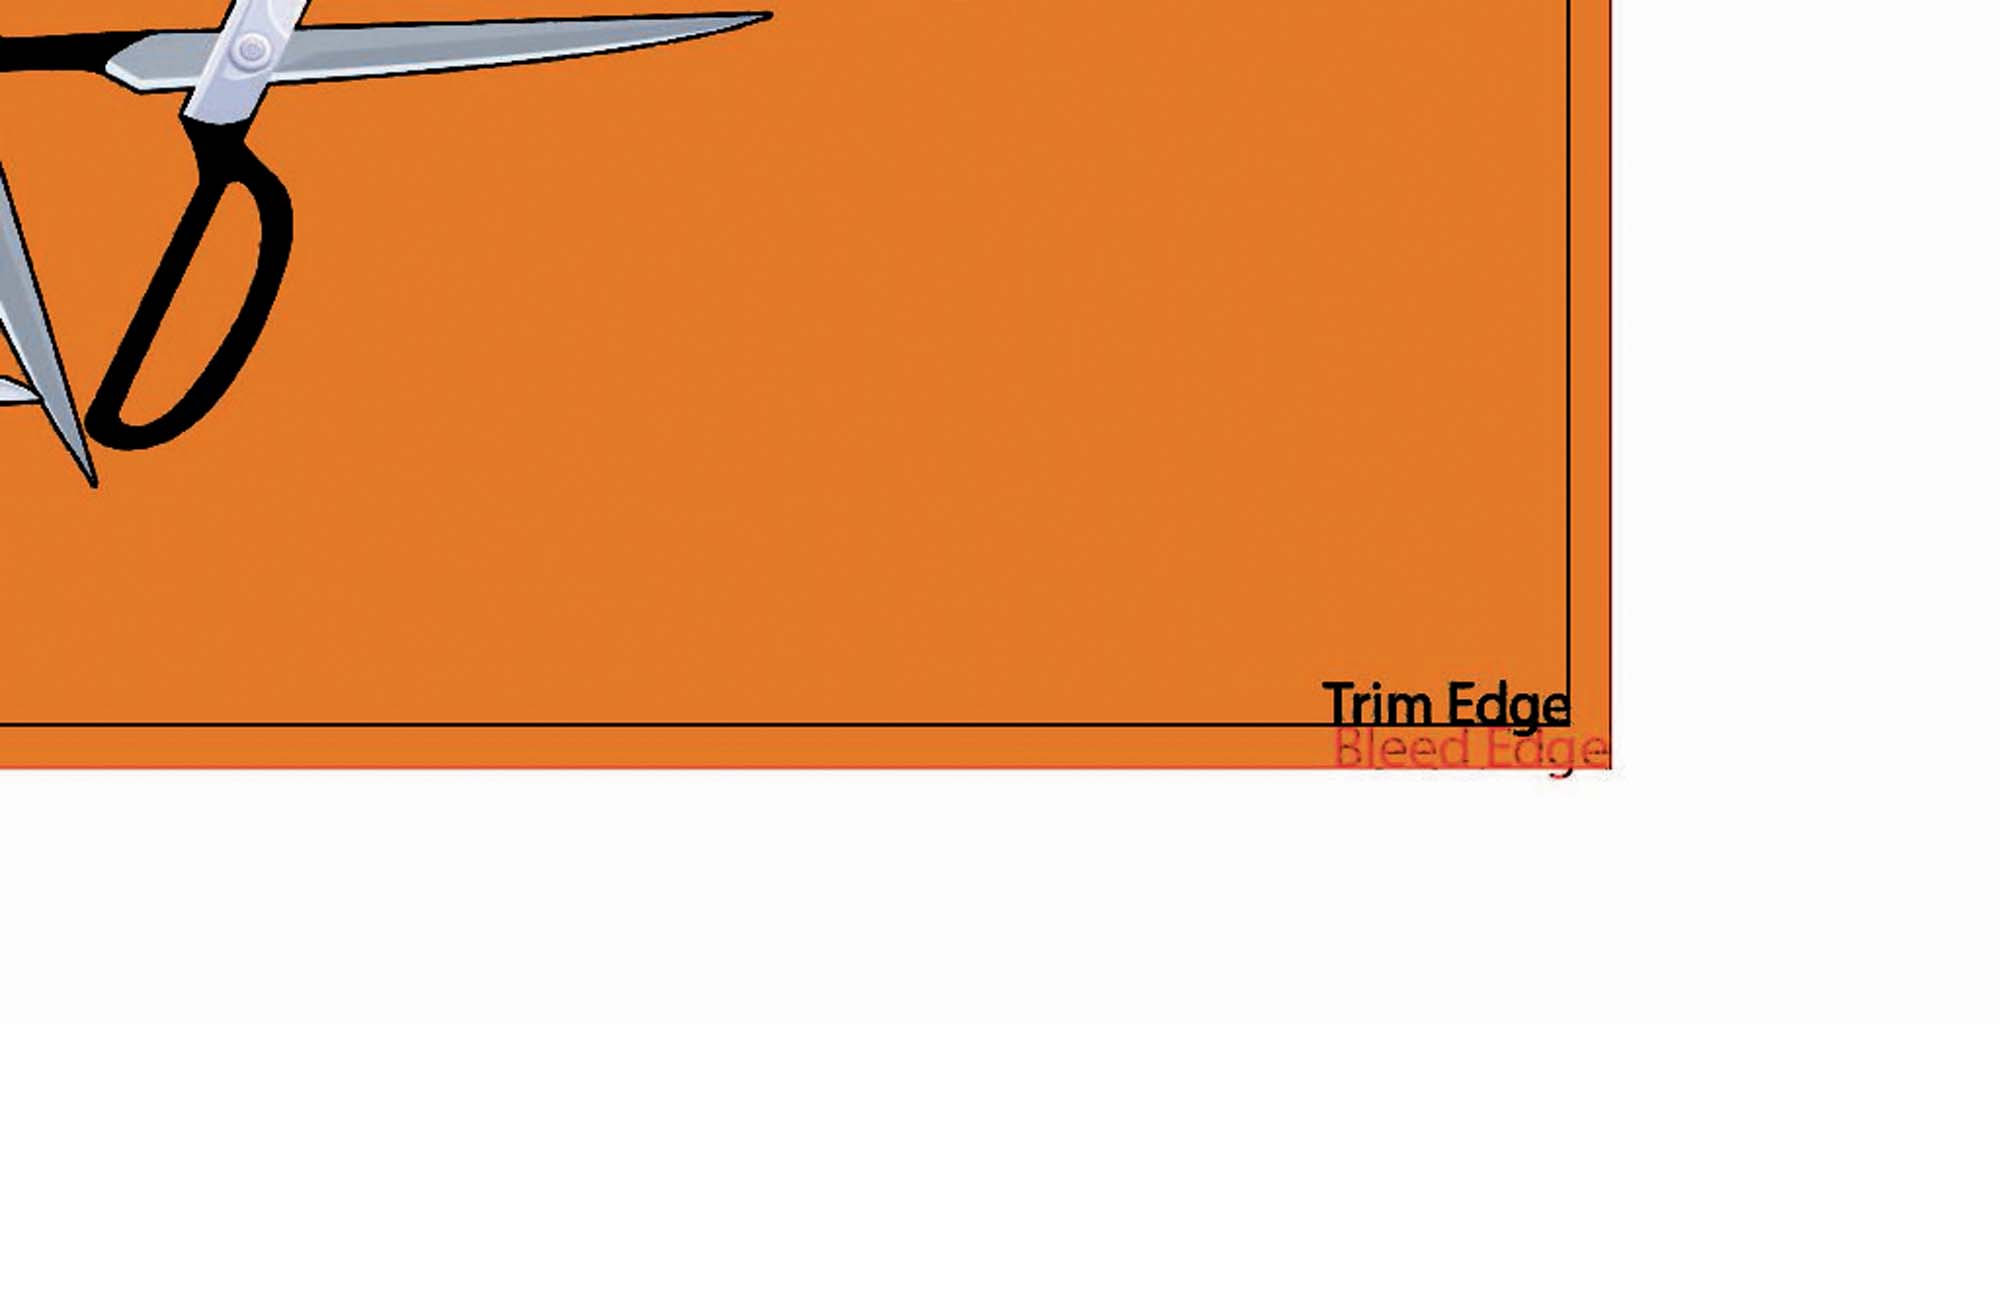
The image above shows the bottom right hand corner of the artwork piece example;
- Text border in blue, the first inside border – unless a design feature, keep your text at least 2mm inside the guillotine edge.
- Trim or guillotine edge, in black, middle border – the final dimensions of the artwork.
- Bleed edge, in red, furthest outside border – typically 2mm to 10mm depending on the print method.
Full explanations below.
Text border
You don’t place any text or other important information close to the guillotining edge because it could be cut off. A text border is usually 2 to 5mm inside the guillotining edge. From a visual perspective, text too close to the trim edge can look unprofessional and untidy unless it is specifically a design feature.
Ideally, text should be around 2mm to 5mm inside the guillotine or time edge;
If you place your text on, or close to the guillotine edge you risk the chance of the text being cut off during the guillotining process!;
Trim/Guillotine Edge/Border
Trim border is also referred to the cut edge. Simply this is the edge that the guillotine cuts to and should be the exact dimensions of the final printed piece.
Bleed
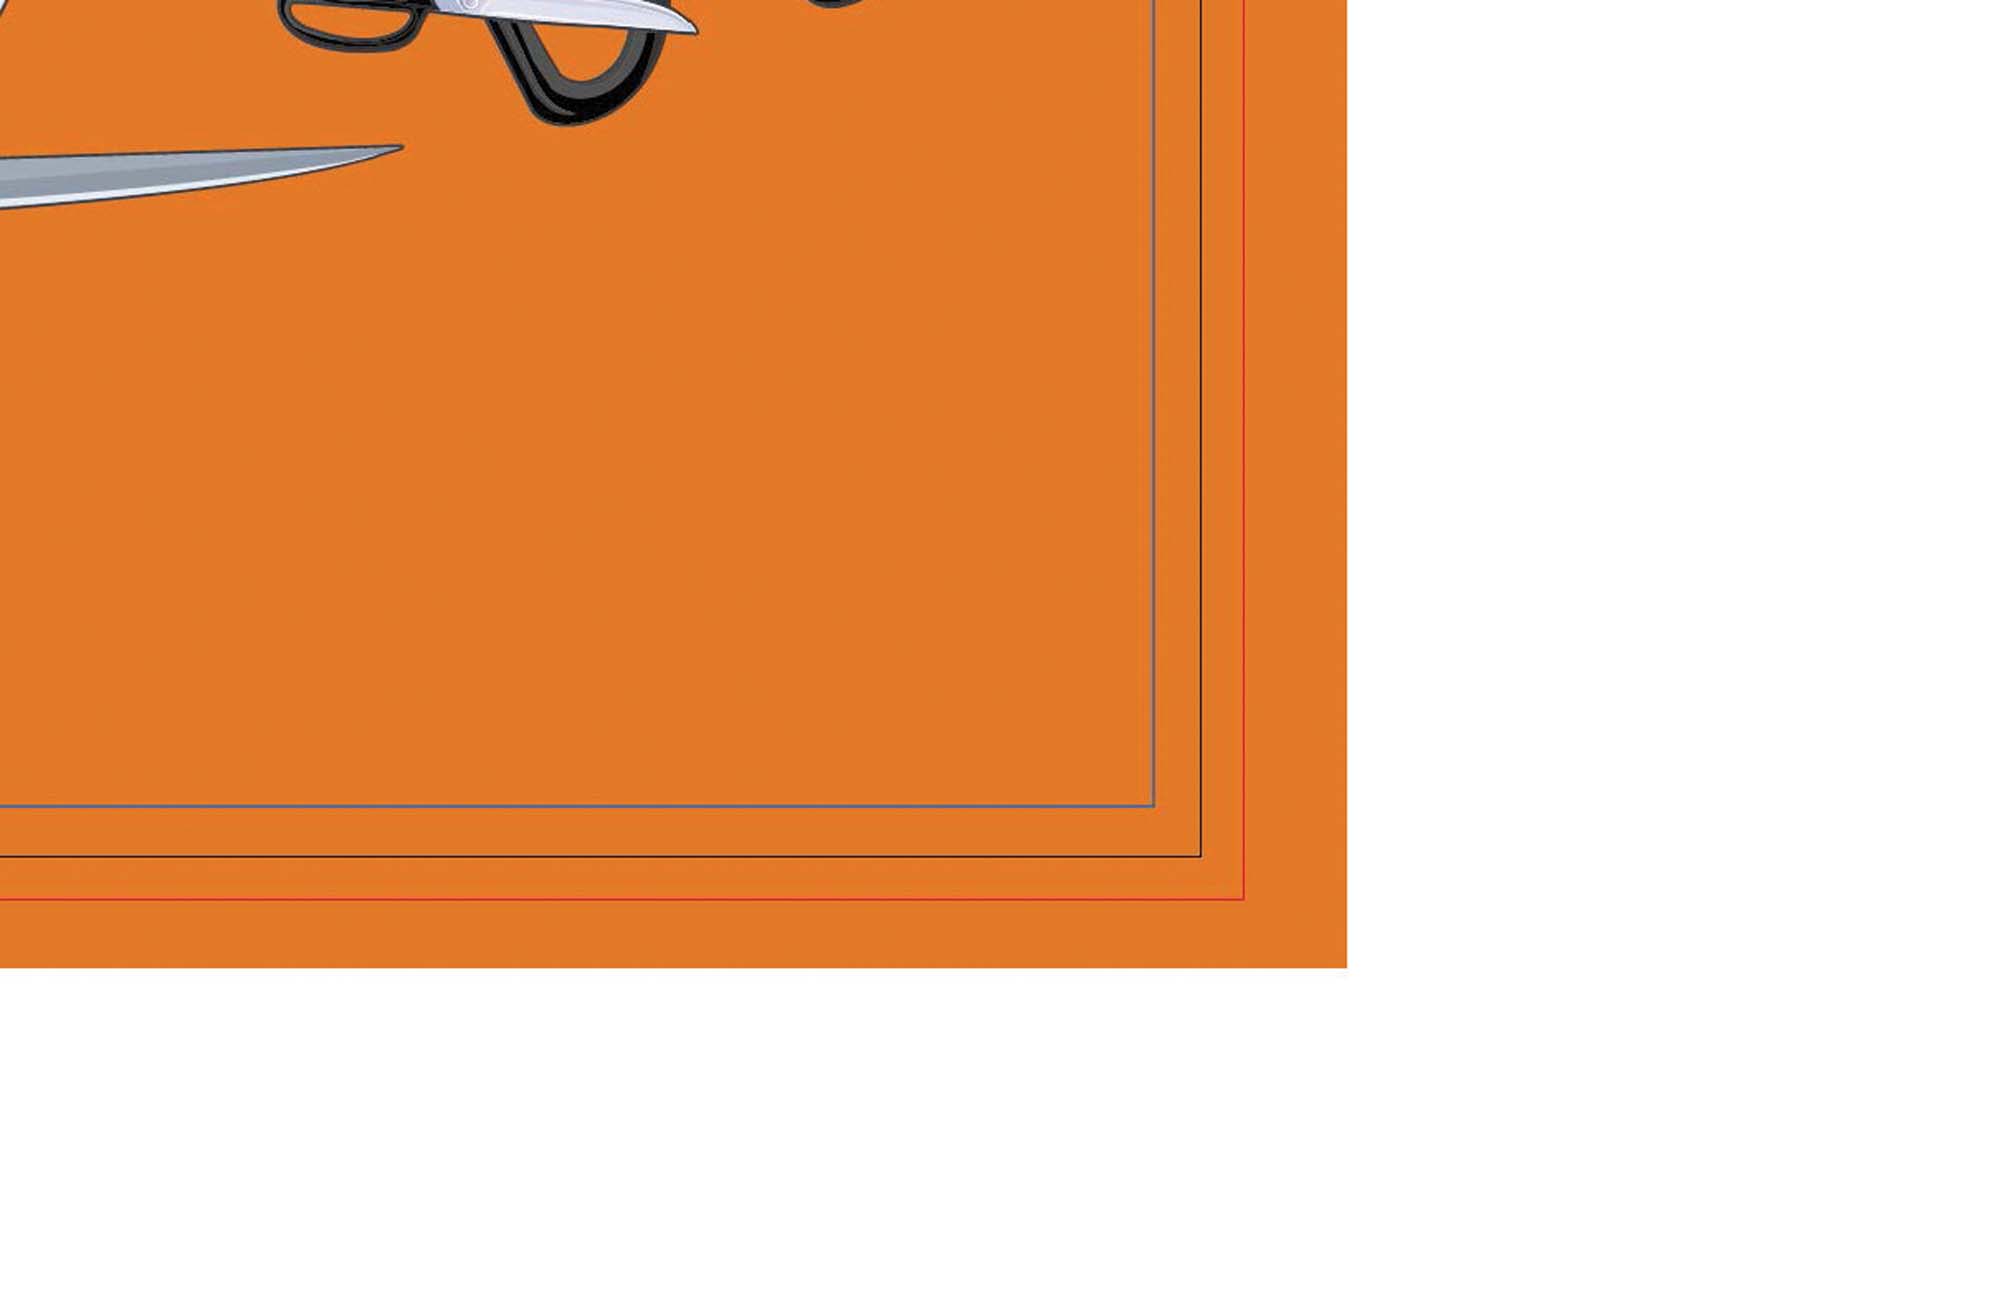
Bleed is an additional space around your artwork to allow for the artwork to ‘bleed to the edge of the page’. Without bleed your final printed piece will have fine white lines around the edges because the guillotining process doesn’t cut sheets individually, rather it cuts large stacks of sheets all at once and even the slighted variation during the printing process and stacking will influence how the printed image is placed on the page.
Minimum bleed for offset/digital print is 2mm, for signs the minimum is 10mm
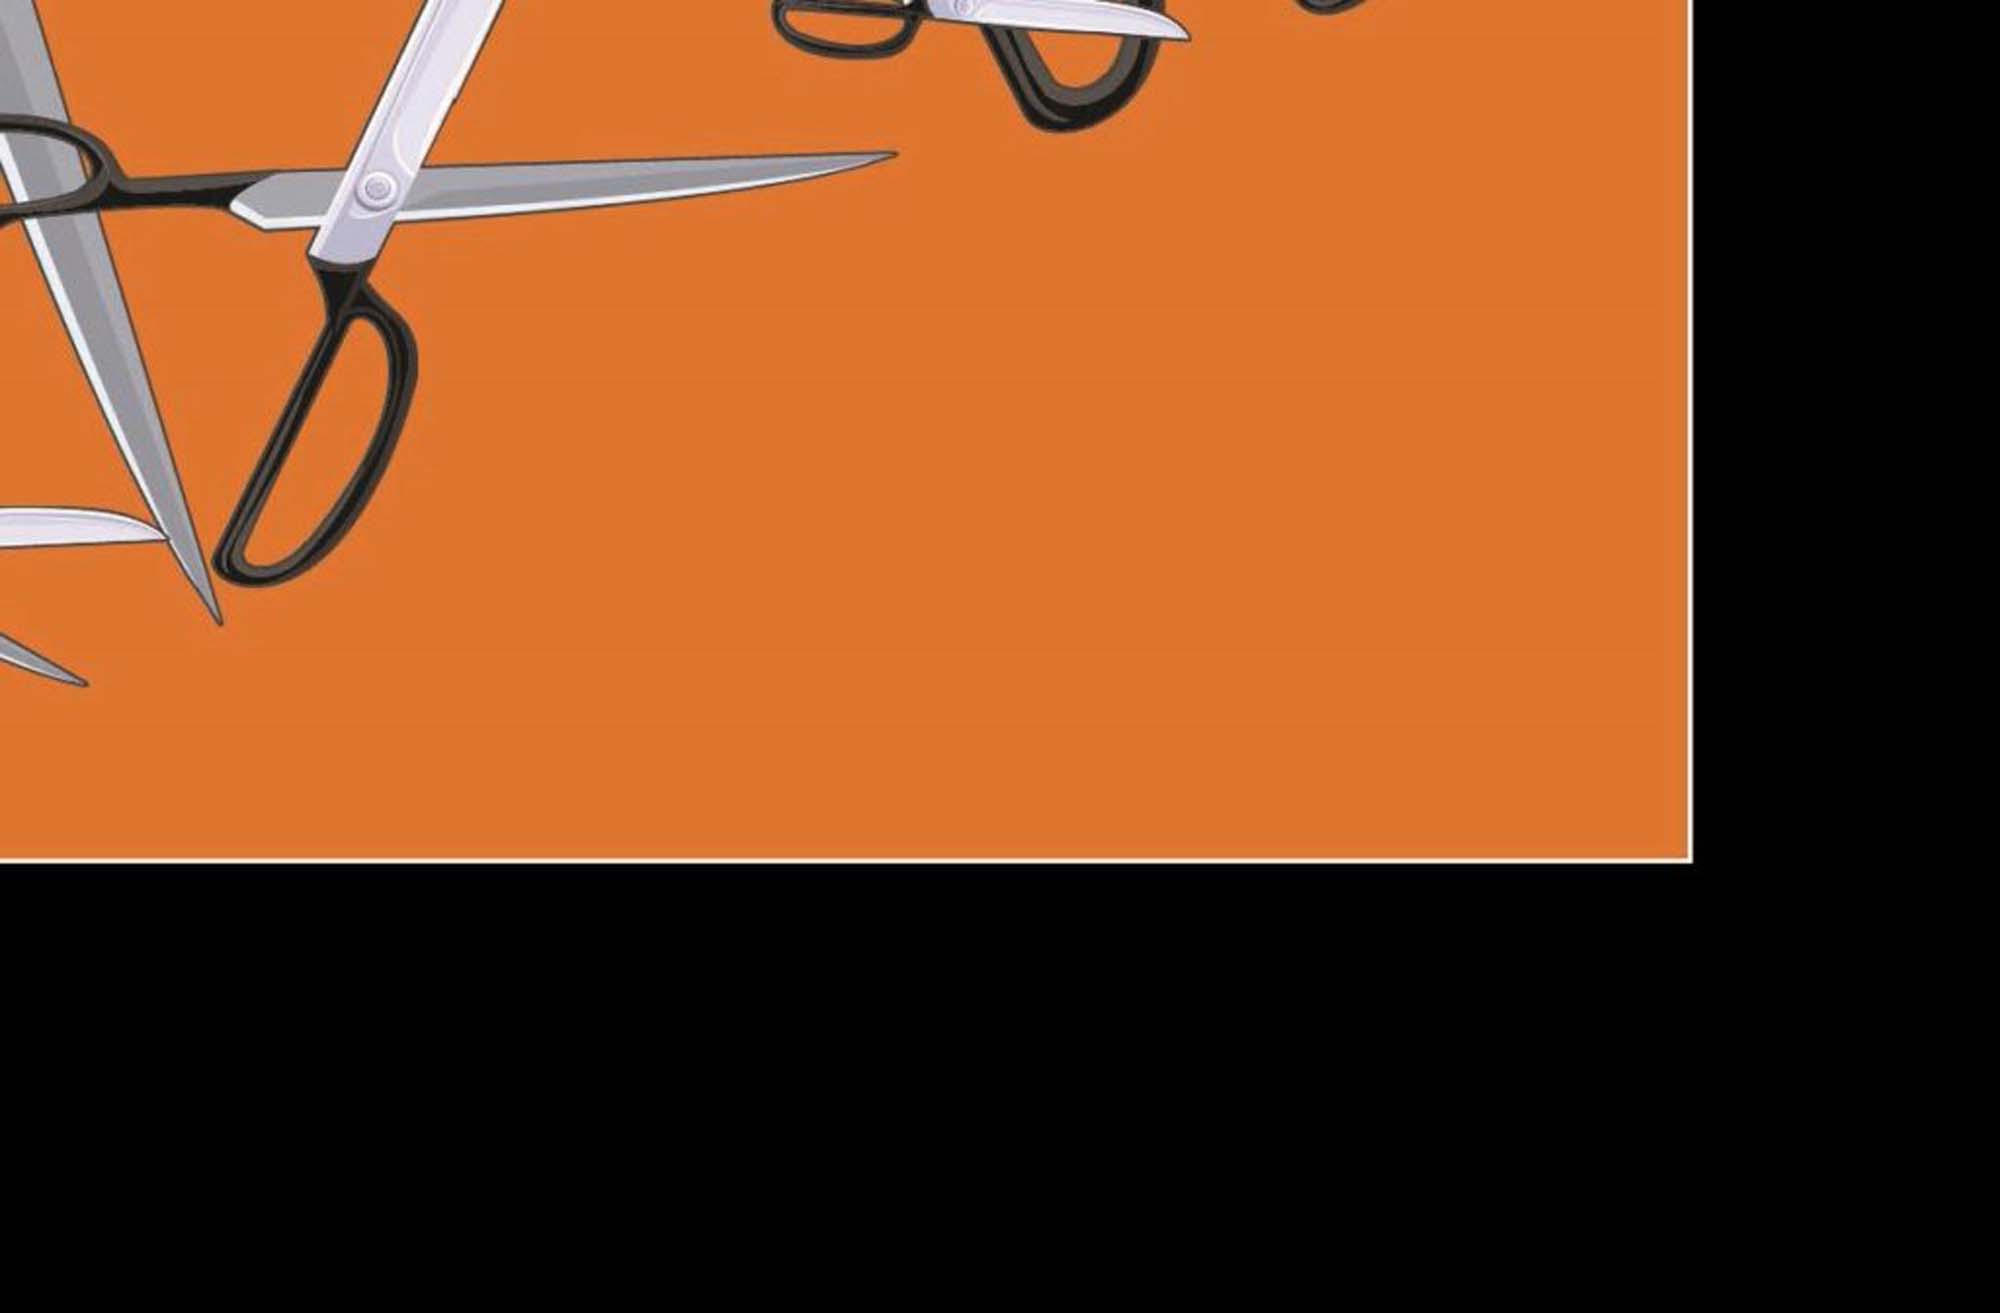
Without a bleed edge you risk a final print with fine white edges around the perimeter of your final printed piece; as shown in the example above.
Crop marks
Crop marks are used during the guillotining process to ensure cuts are made at the right dimensions. Printed artwork can be cut down without crop marks but without a reference point to begin with it can make the process a lot longer and more involved than it needs to be. Most design software automatically adds crop marks when saving to PDF. Check your settings.
Original artwork in design software showing artwork dimensions (in black) and bleed edge in red;

Same artwork saved as PDF showing crop marks;
Example of Save as PDF settings to achieve bleed & trim/crop marks;
Why a flattened single layer?
By ensuring your final print ready artwork supplied flattened single layer not only reduces file size for digital transmission but ensures that the supplied artwork is correct for viewing and printing. It also removes the need to supply fonts which is very helpful as some designers and corporate clients used licenced fonts.
What are spot colours?
Spot colours, or pantones are specific colours mixed to ensure accurate and consistent colour matching. Because inks and applications come in thousands of different variations, spot colours or pantone colours ensure that colours are consistent from a printed pencil case to a large outdoor sign. Typically, this is only necessary for large corporate clients where brand image is critical. The average day to day application of print for flyers etc won’t demand the expense required to ensure accurate colour representation.
If colour matching is important to you then I recommend supplying the correct colour references using PMS (Pantone Matching system). When colour matching is a requirement, we must charge a fee for providing a colour proof on the specific media.
Extra layers for Varnish, Embossing or Die cutting.
Where applicable and pre-arranged, print work can also contain extra layers for spot varnishing, debossing or embossing, or die cutting.
How monitors, RGB and backlighting can affect how images are printed.
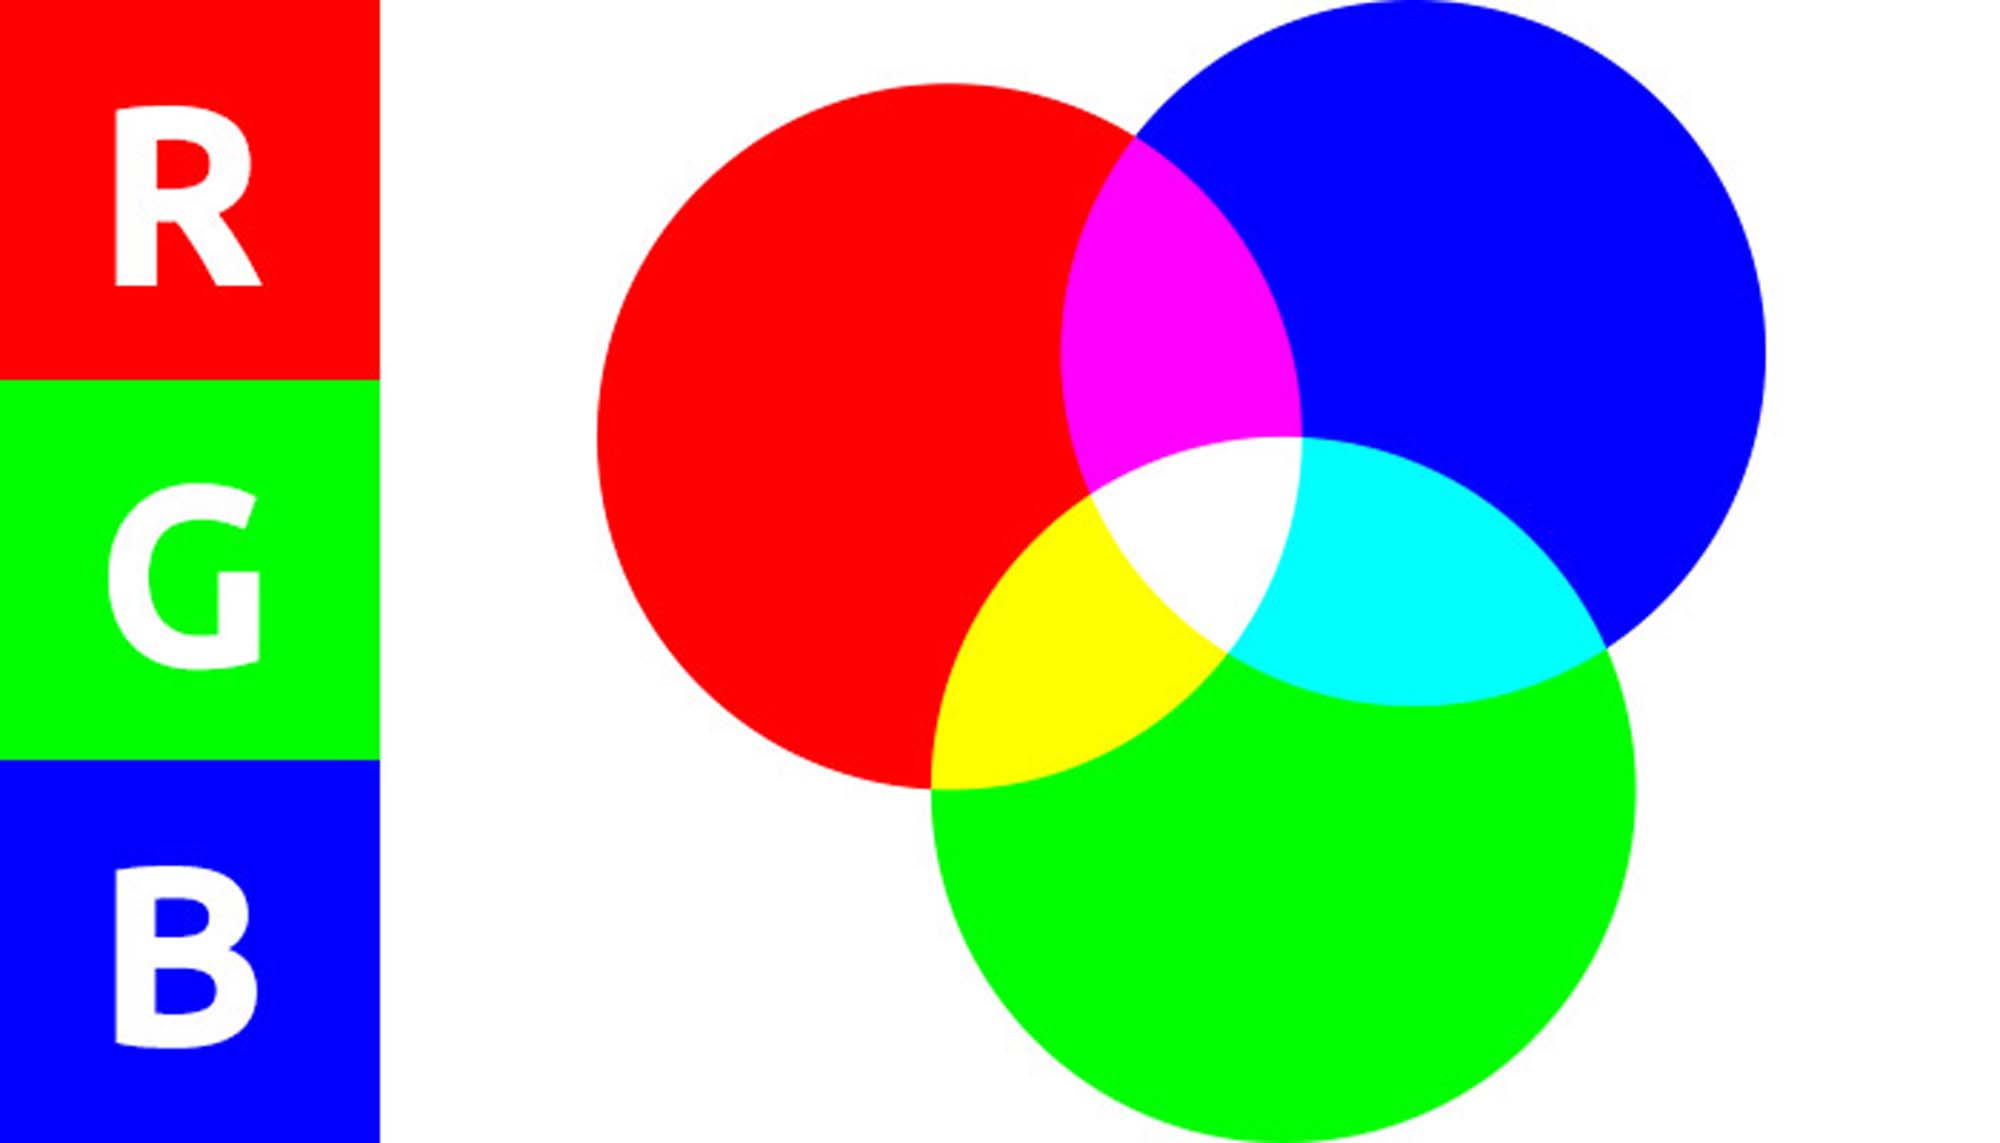
Computer monitors, tablets and mobile phone screens use RGB to display colours. RGB refers to Red, Green and Blue. Your display uses tiny sets of these three coloured pixels, of different intensities to represent an image on the display. It is a completely difference method of displaying images and can cause confusion and complexities when moving between print and web images.
Monitors use a mixture of individual RGB pixels to represent colour. Interestingly, on a monitor the colour ‘white’ is produced by lighting all individual RGB pixels to 100% brightness, but printing all colours at 100% using CMYK will produce a very rich black. It’s the complete opposite and why it’s important to convert any images in your artwork to CMYK for print.
To better understand colour, watch this video. It is an amazing, well thought out explanation of colour and how we perceive it; https://www.youtube.com/watch?v=FTKP0Y9MVus
Resolutions and pixel densities of display monitors
| Resolution name | Horizontal x Vertical pixels | Other names | Devices | Number of pixels |
| 8K | 7,680 x 4,320 | none | TVs & Monitors | 33,177,600 |
| 4K | 3,840 x 2,160 | 4K, Ultra HD, Ultra-High Definition | TVs & Monitors | 8,294,400 |
| 1080p | 1,920 x 1,080 | Full HD, FHD, HD, High Definition | TVs & Monitors | 2,073,600 |
| 720p | 1,280 x 720 | HD, High Definition | TVs | 921,600 |
| SD | 640 x 480 | Standard Definition | TVs | 307,200 |
Photographs should always be colour corrected for print.
Image as displayed on monitor;
Without colour correction, your artwork could easily look like this on your final printed piece;
A monitor pushes light forward into your eyes meaning that images can appear brighter, whereas with a printed page, photons of light are required to bounce off the page first, then into your eyes which can make an image appear duller. Typically photos taken indoors in low light environments on smart phones will give very bad print results if not colour corrected prior to printing.
Software applications used for creating print ready files.
Adobe Illustrator, Photoshop, InDesign can all be used to create print ready .pdfs.
Adobe Acrobat can be used to convert other formats into print ready .pdfs but there are limitations in that regards (see vector vs raster)
My web designer designed a flyer! Why can’t you just print it?
You’ve built your website, it looks great and you’re very happy with your web designer, but you now need to get a flyer done to give to new clients. Your web designer has all already done a great job creating all your images, so it makes complete sense to get them to do it instead of using a graphic designer.
This is a big problem if your web designer doesn’t know how to create a suitable print file.
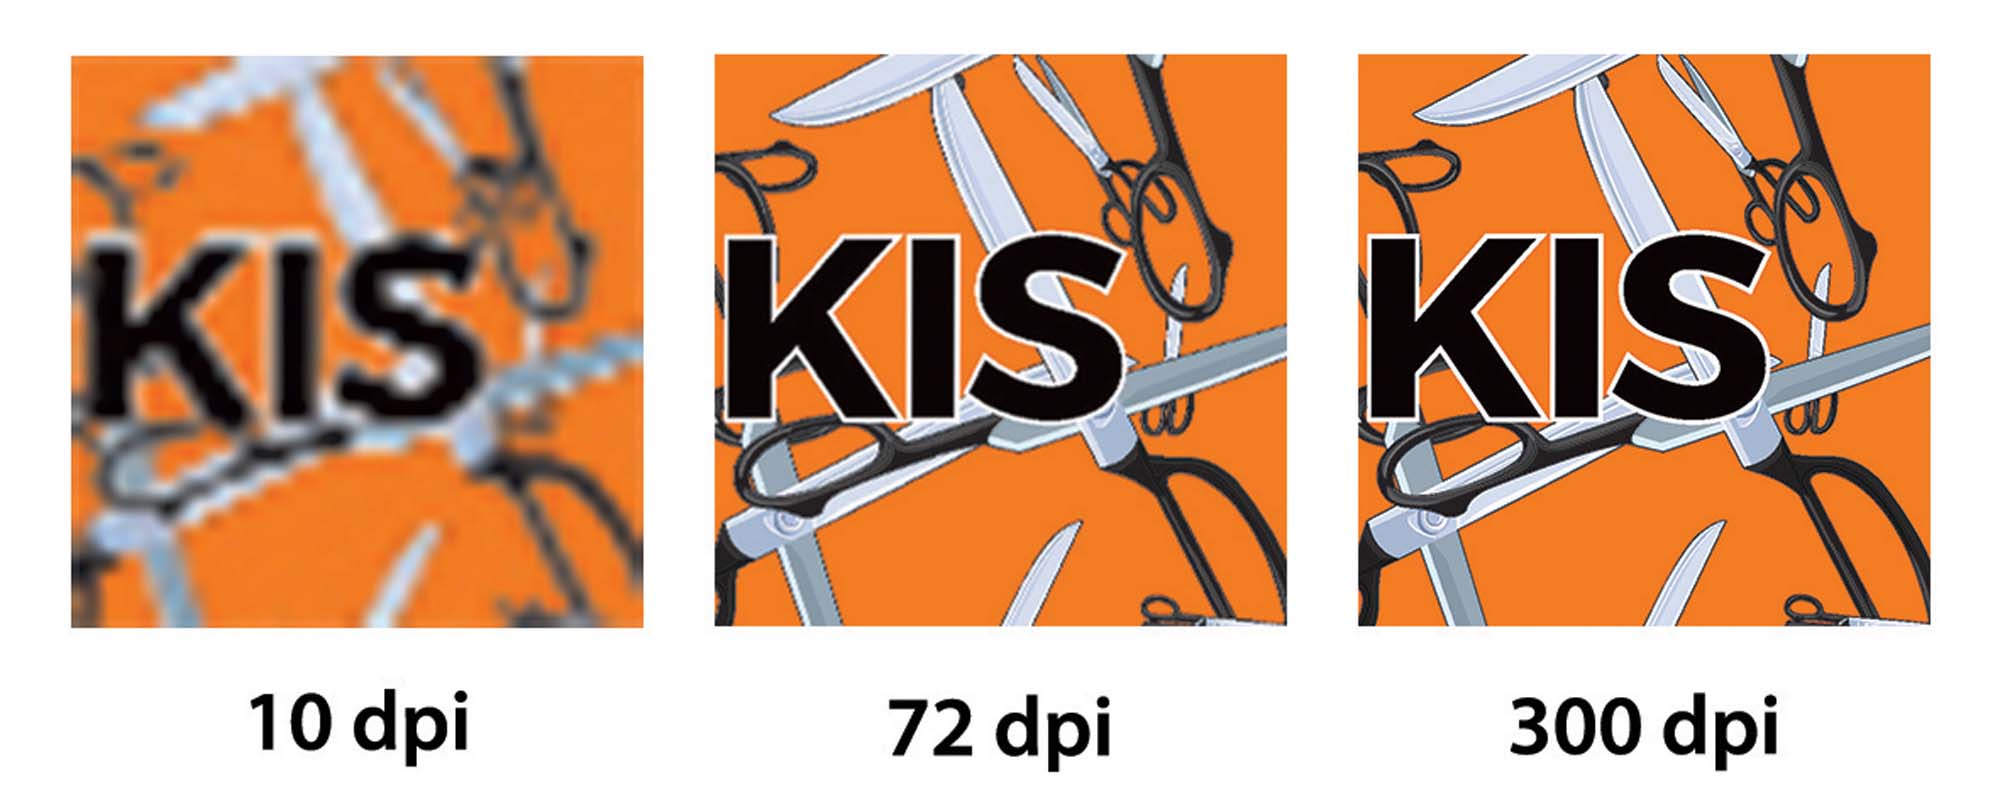
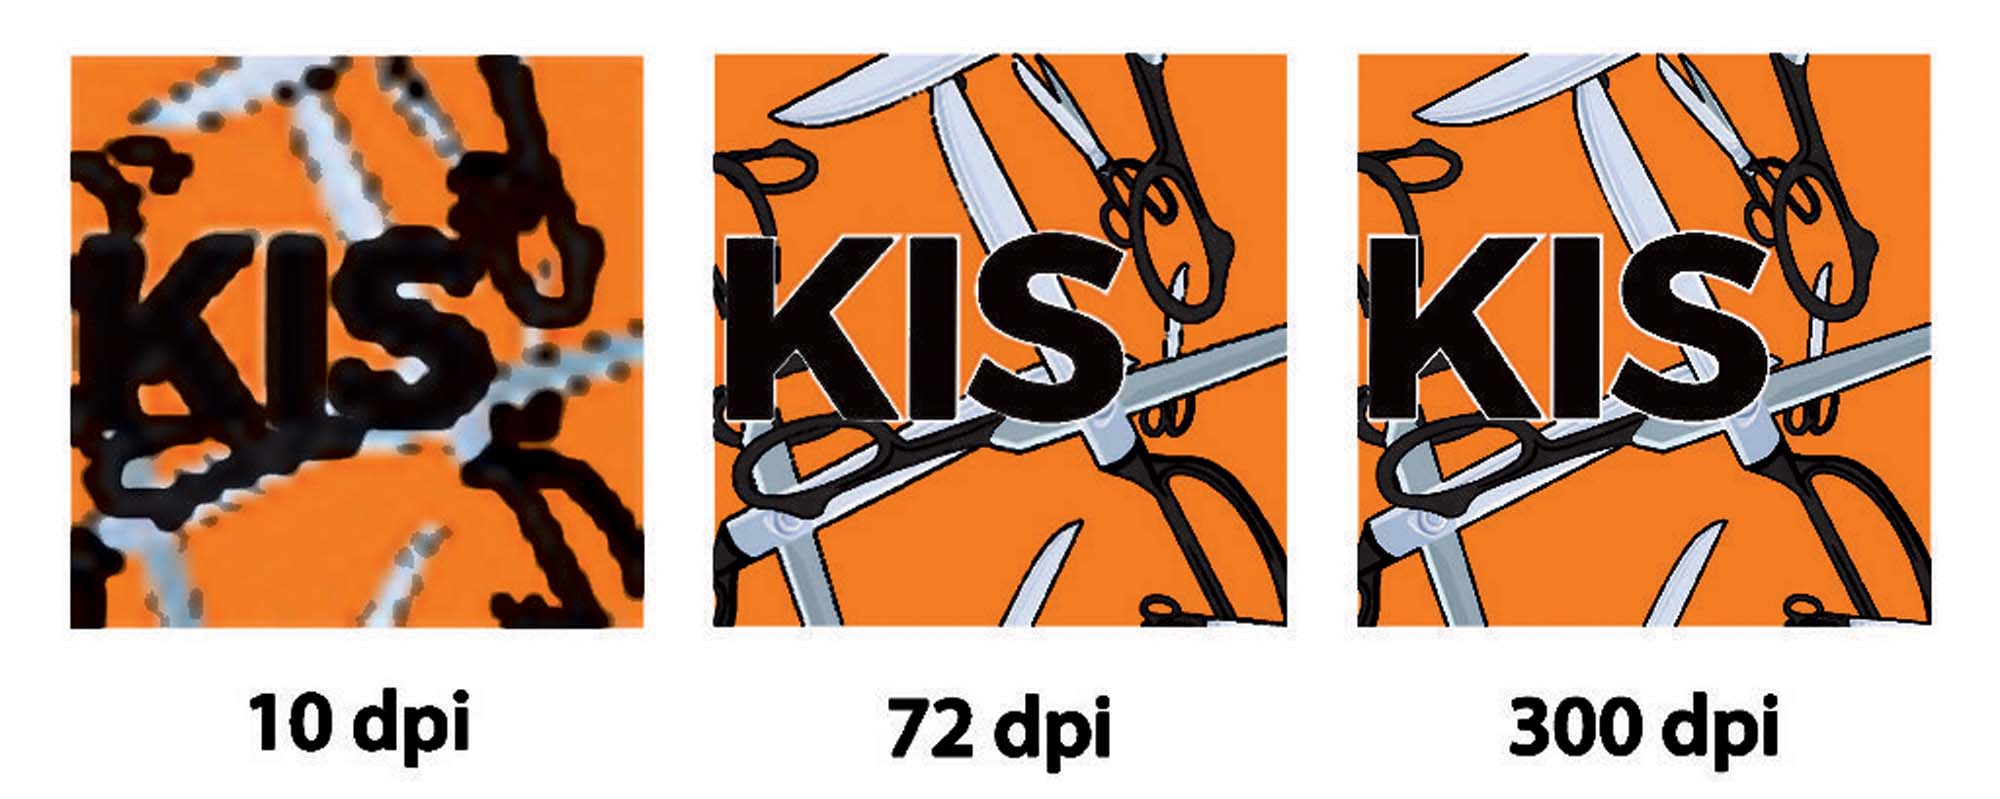
The first problem is dpi. Web graphics are usually 72dpi but with print (and if you’re already made your way through the page you know that the minimum required for print is 300dpi). So, what’s the problem? Printing a 72dpi image at 300dpi is going to look very pixelated and unprofessional (see examples on this page). Okay, so don’t print it at 300dpi, print it at 72dpi instead. Second problem, your monitor displays a much lower resolution than print, so printing at 72dpi will result in a very tiny printed image, more than 4 times smaller.
The only way to use your web graphics for print is to recreate them. Therefore, I always recommend to my clients; design for print, then downscale for web. It’s much easier to scale down from a larger image than scaling up from a small image.
As new monitors and displays come onto the market using much higher resolutions then previous generations, the problem of dpi and web/print exchangeability will become less and less in future.
Why can reprints or extras, supplying new artwork or cancelling the job after approval be expensive?
When you place an order, supply and approve artwork many things happen after that point even before your artwork goes to print;
First, I check if your file is print ready and meets our specifications. If that all checks out you’ll received a print ready .pdf to approve. Depending on the file and print method, this can be a complete new file, redistilled and at a reduced file size so checking and approving is important.
Then once approval is received, and if your print requires offset printing, layout begins. Layout is a term describing ‘laying out’ your artwork on a sheet, sometimes with another client’s artwork. This is because most offset printing use large sheets of paper so ‘ganging up’ multiple artworks per sheet saves paper and printing time.
Once layout has been completed, steel plates will be manufactured using a laser engraver. The laser etches four plates, one for each colour. The plates are then loaded into the offset printer, inks are applied, test sheets run though, alignment of the plates to ensure artwork is clean and crisp. Once all these are achieved, printing can begin.
When the print jobs are completed, the plates are removed, and new plates loaded for the next job. These removed plates are then recycled because the image quality will deteriorate over a certain number of impressions and the act of removing the plates from the machine can dent, warp and damage the plates. In fact, some very large runs of print will require plates to be changed during the print run to ensure a clean and crisp image, free of imperfections.
When reprints or extras are required, the whole cycle has been completed again which is time consuming and costly. Some clients will order 5 or 10% more than they think they might need just in case. If reprints or extras are required it usually quicker and cheaper to reproduce them digitally, but be aware that colours may not match exactly when using two different print methods.
If a job is cancelled, or new artwork supplied after approval has already been given, depending on what stage the printing process is at, it can be costly. If printing has progressed past layout and plating that is a cost the printer must recover. And typically, that cost doesn’t include the time it takes for the printer to remove your artwork from the previous layout, create a new layout and new plates to be able to continue with another clients printing.
What does print look like under magnification?
Modern printing in general (with the exception of screen-printing, pad printing and some other methods) usually consists of very fine dots indistinguishable with the human eye. The fine dots are arrange in a pattern across the page in differentiating densities in all four colours to produce an image that best represents your artwork. The result is much less ink used and much quicker drying times.
